
 Hello everyone! Projects for next year are already piling high, and looking on the few posts that I have made this year I see much to be desired. I have done a lot of work on projects this year, but I have quite a few projects that are in the "almost done" limbo stage. I have also been negligent in posting any of my progress.
So I still have many projects that are near completion, and others that should be documented. As the end of the year is a few weeks away, I have decided to try to finish up these mostly done projects and beef up my posts for this year at the same time!
Challenge Goals:
- Cryx - Done, just take photos and post!
- Shadow Crows - Done, just take photos and post!
- 15 point Blindwater Gators - just need to find my damn paint log...
- Dystopian wars Prussian Fleet - Through a lot of it already, the zepplin and flagship will require some longer detail sessions.
- Descent 2nd Edition - 2 Dragons and a fishy left!
- Desert board 2.0 - 2'x2' modular canyon tiles to improve on my old wallpaper terrain mat.
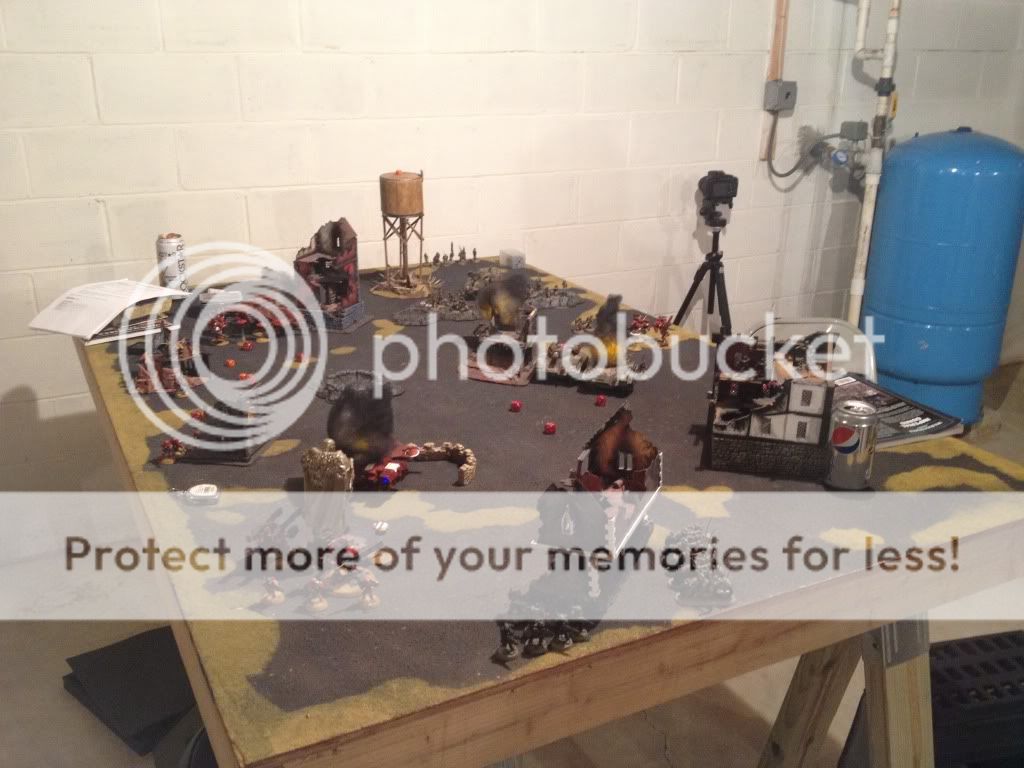
Desert Board 2.0
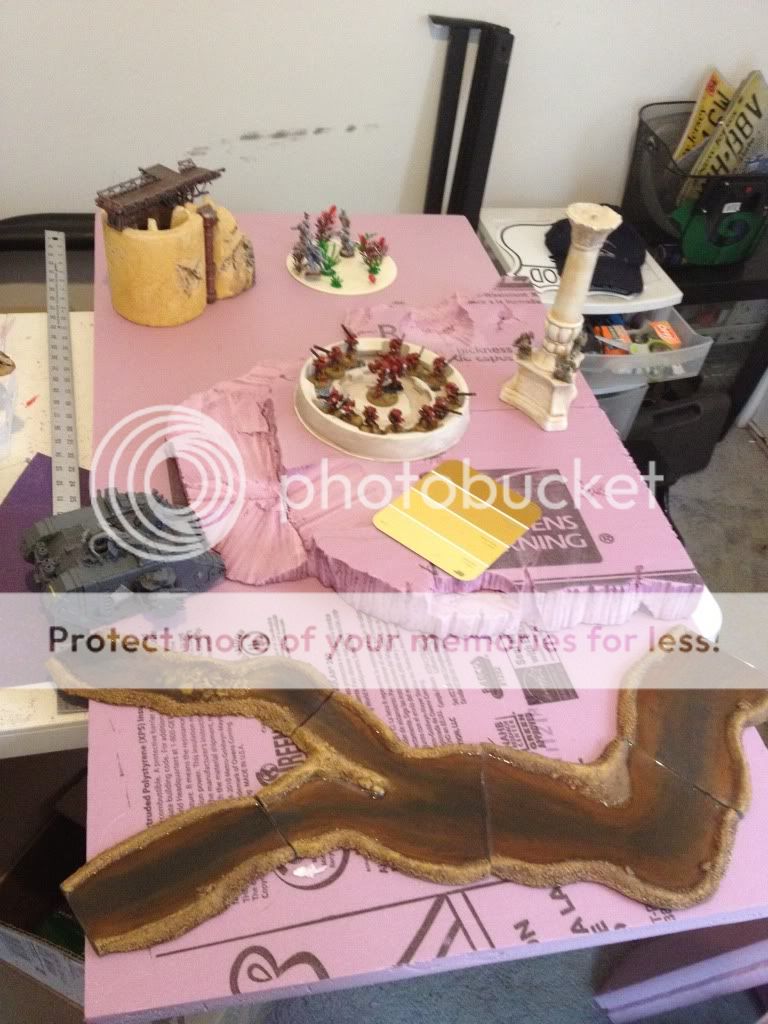
My first project up is the Desert terrain board. My old desert setup involved a wallpaper mat that had been airbrushed. This ended up getting torn up when I had to put it all in storage. I always wanted to try a modular tile system like the Realm of Battle boards, and already have plenty of terrain and armies modeled from my old board, so I decided to give it a try! I brainstormed out some tiles and even made some small square paper versions to make sure I had a good idea of what to make.
I'm already pretty far along in it, but I did not take any pictures during particular steps. I will post my process and the current pictures of the table, and please let me know if anything needs to be clarified.
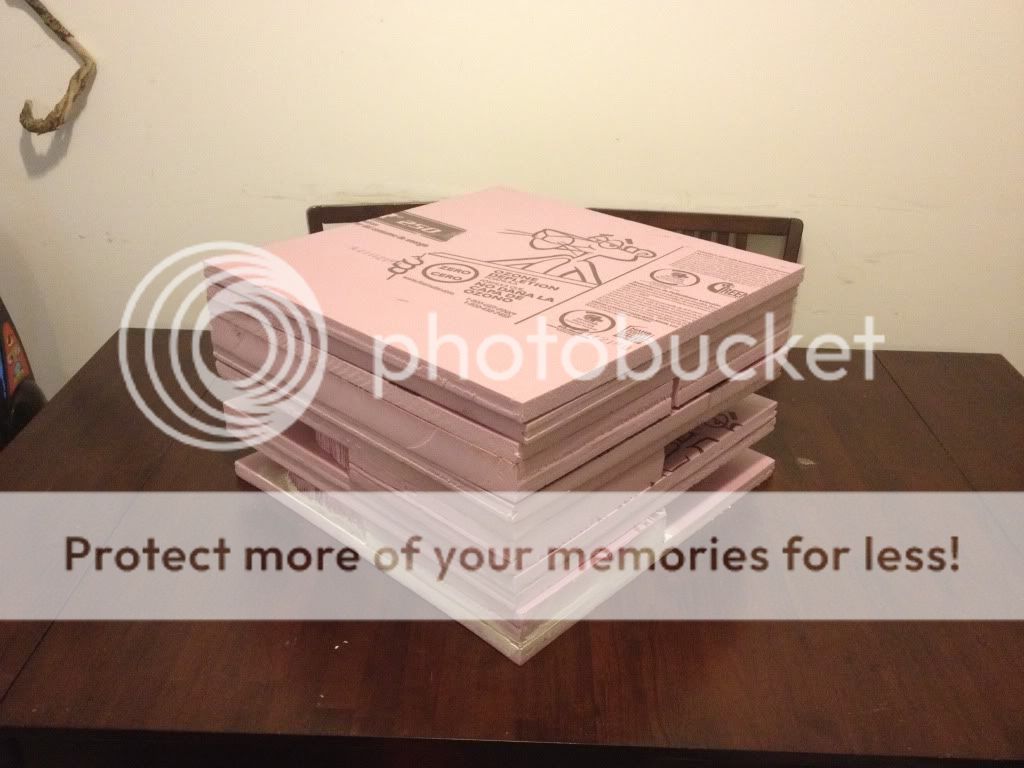
I decided on each tile to be roughly 2'x2', made out of 1" insulation foam. I have also used 2" foam to form canyon plateaus that can be assembled in many different combinations.
Supplies:
1" and 2" Pink Insulation Foam - board terrain, light and cheap. Easily cut and dented.
Sand paper - sanding down the foam and Spackle.
Spackle - gap filler, I use a pink sand-able kind that turns white when dried.
Wood Glue/white glue - gluing the foam, and adding the sand.
sand - to make some texture to the boards.
Craft Acrylic paints - nice and cheap, easy to clean up, and can be used on bases to match.
Hot wire foam cutter - Michael's has one which is a straight rod, rather than the one that is attached at both ends. The straight one is needed for this, as the other can only cut so far into foam, and cant cut a central piece out, or easily make ditches.
 I bought the foam at a home depot, and had it cut there. As the foam is 2'x8', you can get it cut down into 2x2 tiles right there, which is a good quick start to the build. You will not always get perfect measurements, so be prepared to sand down some edges. Mine were within 1/4 inch, which has not been a problem when putting the tiles together. I chose to go with no MDF bottom to keep things light and cheap. Some of the tiles are slightly bowed, but it is not that big of a problem. I made sure to pick my foam sheets that were wedged in the back and had less curve and wear. Insulation foam has a notched side so that sheets can interlock side to side. I wanted this flat, so I cut the insulation foam side notch clean with an exacto, and glued it to the indent on the other side. With a sharp blade this can be pretty seamless. I sanded my tiles to get them closer to a uniform dimension and clean the burrs from being cut at the store.
 From there I took one of the 2" tiles and marked out my corners. I made some rough drawings to follow for the canyon edge, and cut it out with the hot wire cutter. You need to go slow, stay at a steady amount of resistance or you may break the cutter. I made it jitter a bit to make the edge more natural. When the piece was out, I ran a fine grit sandpaper vertically on the edge to clean up all of the foam stringy edges. I then took the cutter and slapped it against the canyon edge to make little indents, and sanded the indents again. I also sanded the upper edge of the canyon to weather it. I used the cutter to knick broken areas, cracks, canyon caves, blasts, whatever I felt like (sanding them clean too). When I had all 4 corners, I dry fitted them to make sure they looked good, and then glued them down to their respective tiles.
 The tiles break down into:
 - 4 x Corner tiles, reaching to around 11"x11" of one corner. Some have ramps or the odd lower section.
- 2 x long canyon tiles, taking up 11"x2' of a tile.
- 2 x flat ground tiles
As all of the plateaus are a uniform length at the edges, they can be placed in any order and always line up, even if the hill expands out for the rest of the hill. I originally had two corners at 18" on one side, and two with 8" on one side, but the variety really was not worth the loss of modular choices. I tweaked these sides to match the 11" and ended up being able to keep most of the original intended variety. The two which were originally longer now just have a slight chasm between them, but still have a larger landmass than the smaller ones.

After applying the hills to their boards, I spackled the seams where needed. This is easily sanded down so there is no unwanted gaps at the canyon base. It also helps even out the crudely cut ramps and some of the sides of warped boards. I made the long canyon tiles just like the corners, and began testing out table arrangements to double check everything again. Happy with it, I moved onto painting.
I am in the process of basecoating everything now. I am using a craft acrylic to keep things cheap, although I considered samples of house paint as well. $3 for a 4x6 covering paint sample is a good deal, but I prefer acrylics for the easier cleanup.
My process will be:
- Base coat
- Glue and sand
- Base coat
- Second color drybrush
- Lightest color drybrush edging
- Wash
- Seal
Left to do:
I may add wooden dowels or magnets to the edges to keep the table from slipping out of alignment, but I will add these in later if necessary.

I will be adding some 2" extender blocks to be able to raise a tile to the plateau height. As you can see in the picture, this makes an added level of height with the right tile setup. These were demoed with some scrap foam, but the real ones will need to be sturdy. They will probably be 4 blocks with dowels to space them to the edge of the tile.
I wanted to be able to store this under a table, and take it with me to other houses. To keep the foam safe I will be making a posterboard case. Originally I wanted to cube it up, so they can stack into a cube for storage of about 2'x2'x14". However, this will not fit in my car, so I will be making two short posterboard carry cases instead of one tall one.
See more pictures of different combinations on my Terrain album. Expect more progress soon!
See more pictures of different combinations on my Terrain album. Expect more progress soon!


.jpeg)


