Showing posts with label Cryx. Show all posts

Thursday, March 21, 2013

Cryx Complete


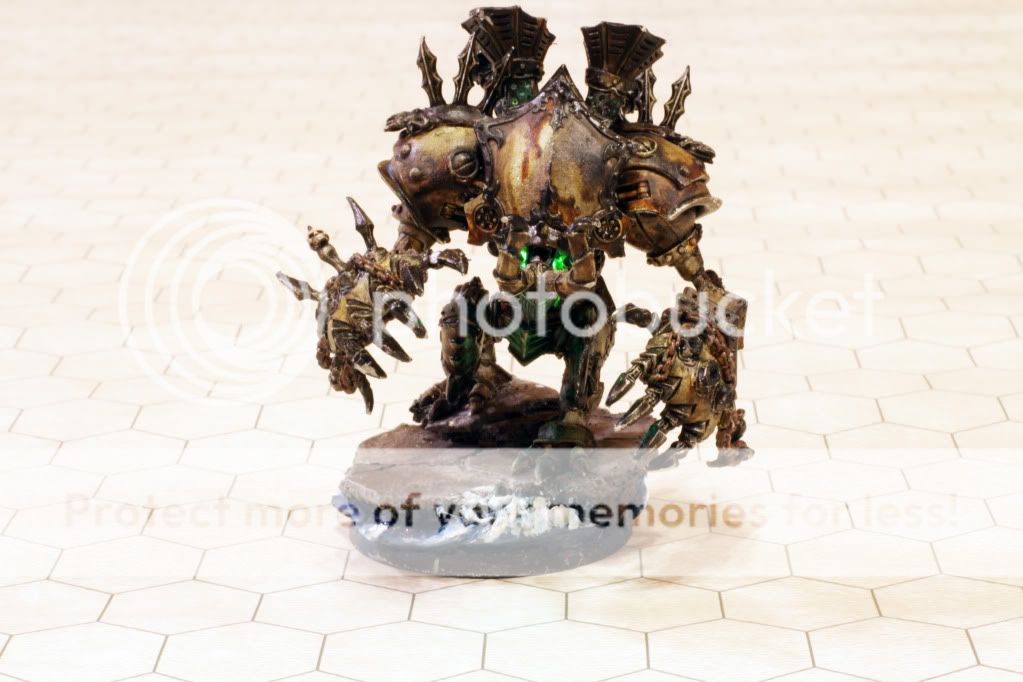
I have had this army done for a while now, but never got around to posting it here. My original goal for this army was to have a lot of LED effects on it, almost every model to be glowing. As I progressed through the initial stages, I decided to scale back to a more attainable goal of glowing for just Warcasters and Warjacks. They are the primary focus of the game, after all. I was very happy with how a lot of the army came out, especially the basing. I wanted to capture a feel for a windswept ocean, with waves crashing on rocks.
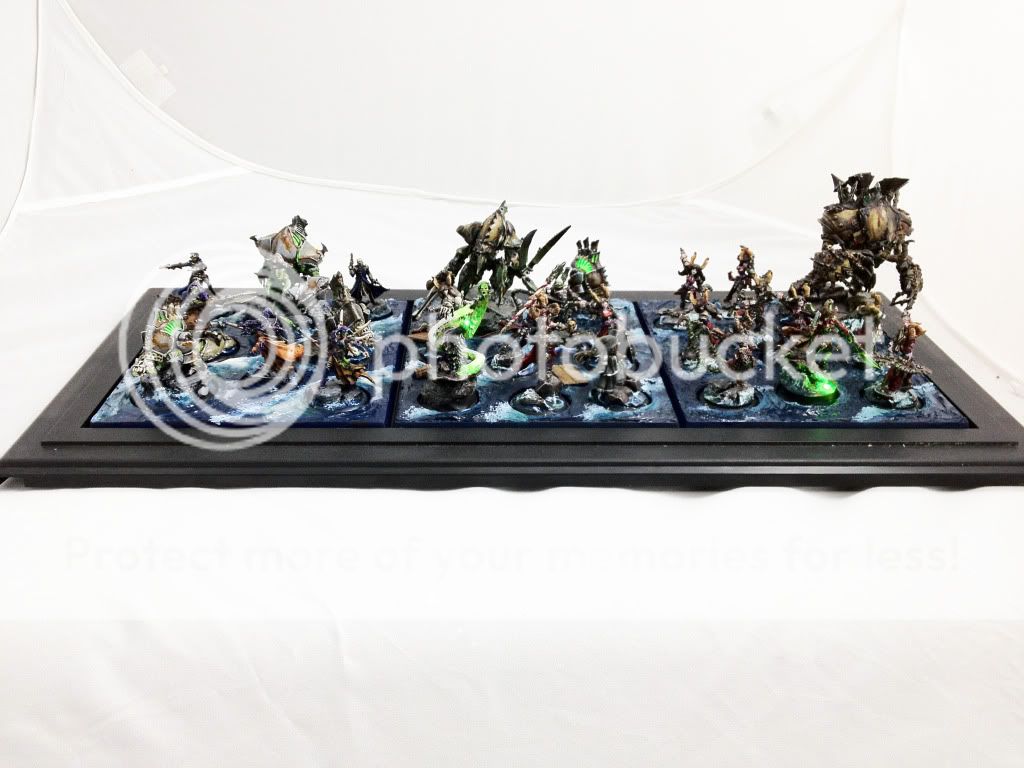
 I have learned a few things from this army construction, that I will hopefully avoid on future projects:


  • Working with plaster for bases is a real pain. While it is great for breaking into chunks of realistic rock, glueing or pinning through it is almost always temporary. I have yet to find a solid way to bind plaster to anything else. I would have been much better off molding them and recasting in resin. 

  • Pinning is essential on many of the warmachine pieces. I've normally been OK with not pinning things this small, but my Satyxis are constantly breaking (also thanks to the plaster bases not really bonding with anything.) Magnetized bases also puts stress on them when I pop them off the metal, so this is a case of a few things exacerbating it. 

  • Having a solid army completion goal really helps to drive me to complete a project. There were plenty of things I would like to add to the army, but focusing on the 2 casters and 3 tablewar trays worth of models kept me focused. I may add on at some other point, but these can feel more like expansions instead of the never ending flow of new unpainted models. 
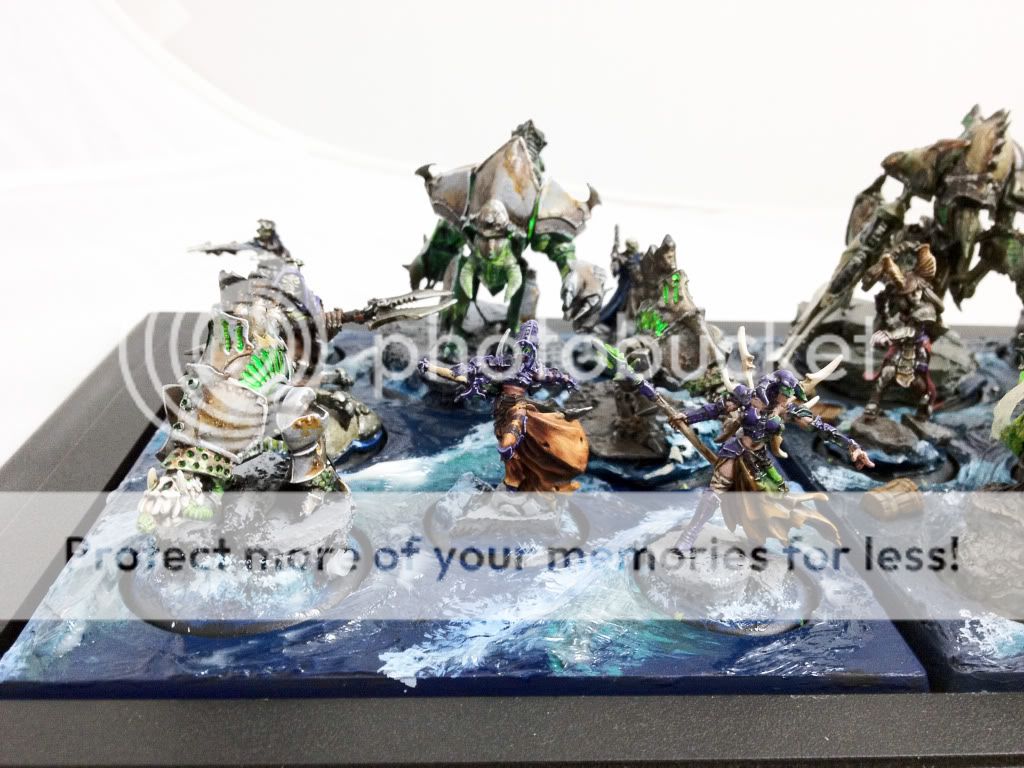
  • A few flat out failures to learn from were the mold fail of the crabjack hull, the fiber optics fail on the skarlock, and my lack of protection for my Deathjack. Ever since he hit the ground, hes never been the same, and really needs some shoring up and fixes. In addition, I am unhappy with Deneghra's paintjob and lack of glowing base. I will be revisiting them at some point to fix these things as best I can, but for now the army is complete enough to play and display.

Here are individual shots of some of the top units. These photos and some of the others above courtesy of the awesome Master of Ordinance.
______________________________________________
Tuesday, April 19, 2011

Building Cryx and battery/Switch Bases


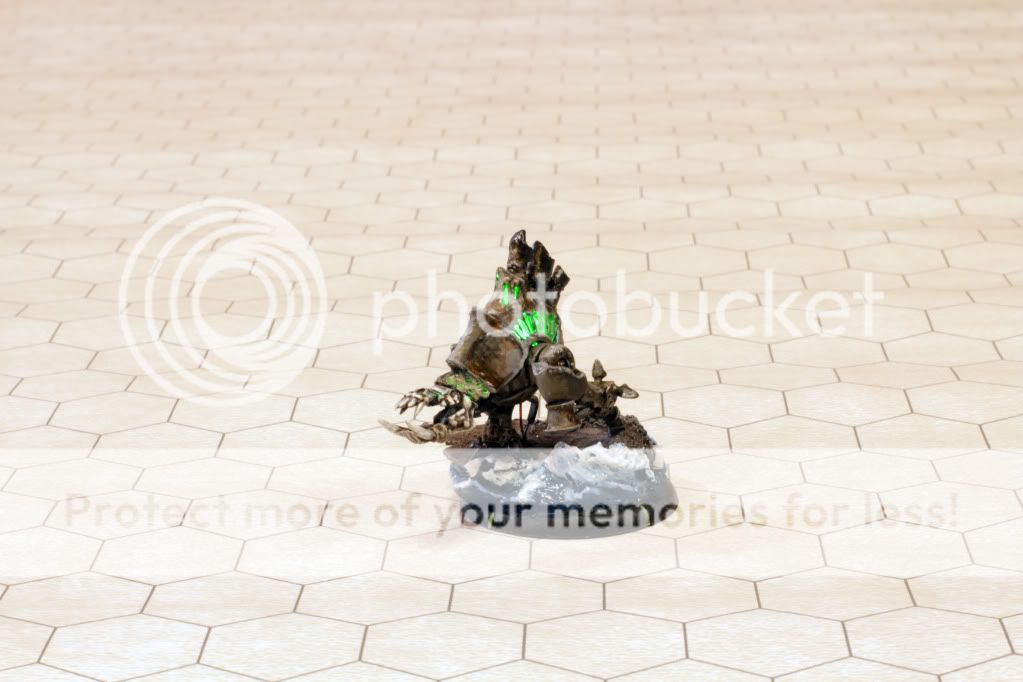
I was able to get a good bit of modeling done on the Cryx this Saturday. The Deathjack got most of the improvements, namely soldering and greenstuff to conceal the wires to it's body, and getting the base and broken parts back on. I used crystal clear caulk, tinted green with a wash, and applied it around the led to bridge that area and add some texture over it. This worked pretty well, and should work fine when painted transitions into the LED section. I added resin sand to the base to shore everything up, and primed it after these pictures. You can see that the intended effect of bathing his victim in green is unhindered by the caulking.


The Satyxis all got some assembling and priming as well. Their bases will be another large project, so they are on temporary ones with a pinned leg each. I didn't pin the flails, so hopefully that doesn't come back to haunt me..


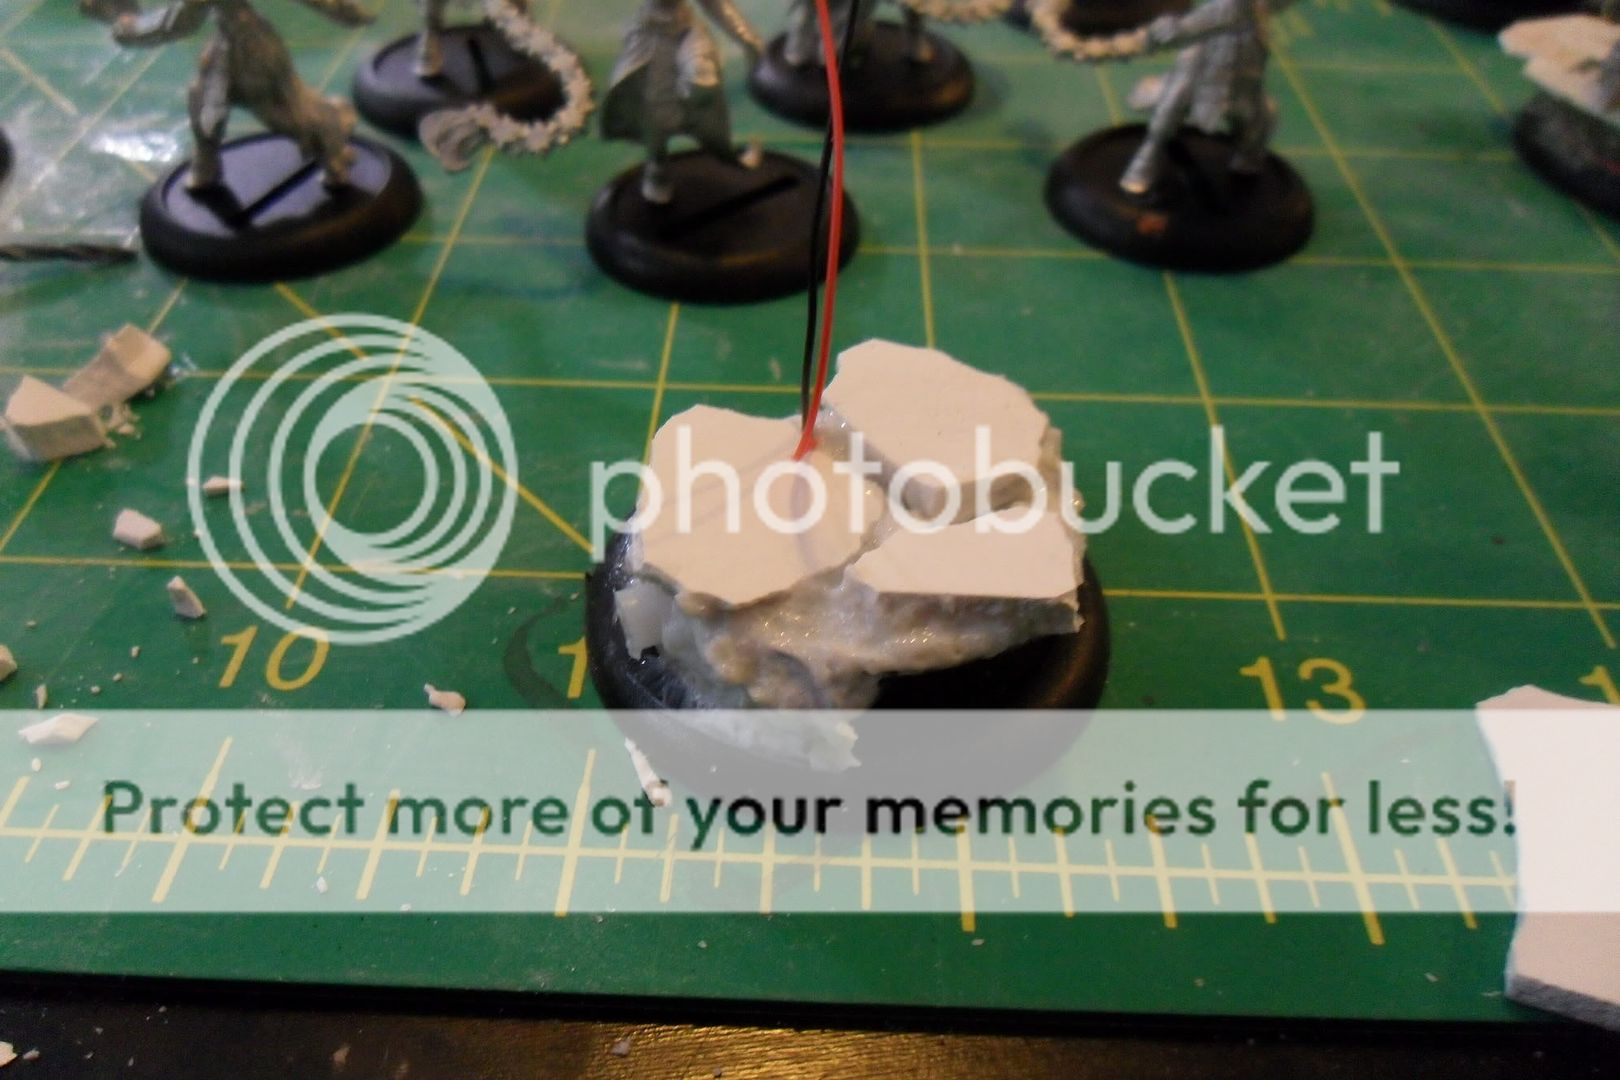
Speaking of bases, here is the first step. They were made by taking normal GW bases and cutting the rims off. Sanded down a little, they fit into the PP bases like other inserts. Over top of that I applied resin sand and broke up some plaster into rocks. These will be masters which I'll use to make a mold, for the much more difficult secret stage of the build...


I also have my newer versions of warjack base+switch+battery setup. I first applied the holder and switch to the base with careful superglue locations. It's important to not oversaturate the holder or block it in any way with glue or the resin sand. I then cut out tops out of plasticard and threaded the wires through, lightly gluing the top to the battery holder.


After that I applied resin sand to the top and around the sides. I've come to really like this stuff, its much more convenient than glue and sand for non-terrain projects.


Then I took a wirecutter to some more plaster to make some blocks to a cracked rock formation in line with the others. I originally tried taking foamboard and removing one side of paper, then carving out rocks, but it did not look as good, so I will redo the larger base to conform with these.


You can see the test turkeyjack showing how the finished product should look, with wiring going up one leg when it is ready. This ended up being much neater than the original, which had extra wires everywhere. I will probably make a removable battery cover of some sort next.


______________________________________________

Tuesday, April 12, 2011

Cryx Deathjack LED Teaser


Expect some pictures soon of my mostly finished Mansions of Madness, but in the meantime, here's a little something I have been working on for as the next project...


I will be working with clear caulk to mold out some ghostly trails around the LED, but I dont want to diffuse the main beam too much. I'm hoping that during a game I can engulf the deathjack's current victim in a green haze, room lighting permitting. The glow gets around the major areas I was hoping for, though I probably could add one to the back, or drill out the main exhausts and fill them with clear caulk to try to carry the light. As it stands I will probably just mimic that with the paintjob.

Here is one of the other works in progress, which took considerably more effort due to recasting the body in clear resin. The green is off, it should be closer to the deathjack, a little more cyan tinged.


And here is one of the original works, also recast in clear resin, though it loses quite a bit of detail. The paintjob was a test, and not likely to be the one I keep.


The LED's wont stop at the jacks though, expect some very small lighting attempts before this army is through.