Thursday, March 3, 2011

Jump Pack Thrusters - Light em up!

No longer must your jump packs be extinguished! light em up! Here is a step by step of how I make mine (shamelessly copy&pasted from my BnC post..)

I use P3 red ink, and Vallejo sun yellow and white.

I start with basic black primed or dark dry-brushed jump pack thrusters. I work on them in sets so I can maximize painting while others dry.


I start with a big blob of white in the two source parts of each thruster. I often have a huge crack there, so I will add thick white layers over the course of painting to fill it up. These will be my light source. I then take thinned whites and edge all the hard corners and lines that would face these white light sources. This needs a brush with a well kept point, but uses the paint on the edge of the brush. If you are not used to this method, take some scrap minis to try it on. Having the right amount of thinned paint on the brush will help immensely, so I usually wipe the first stroke on my thumbnail (subsequently I often end a paint session with a Jackson Pollock on my thumb)
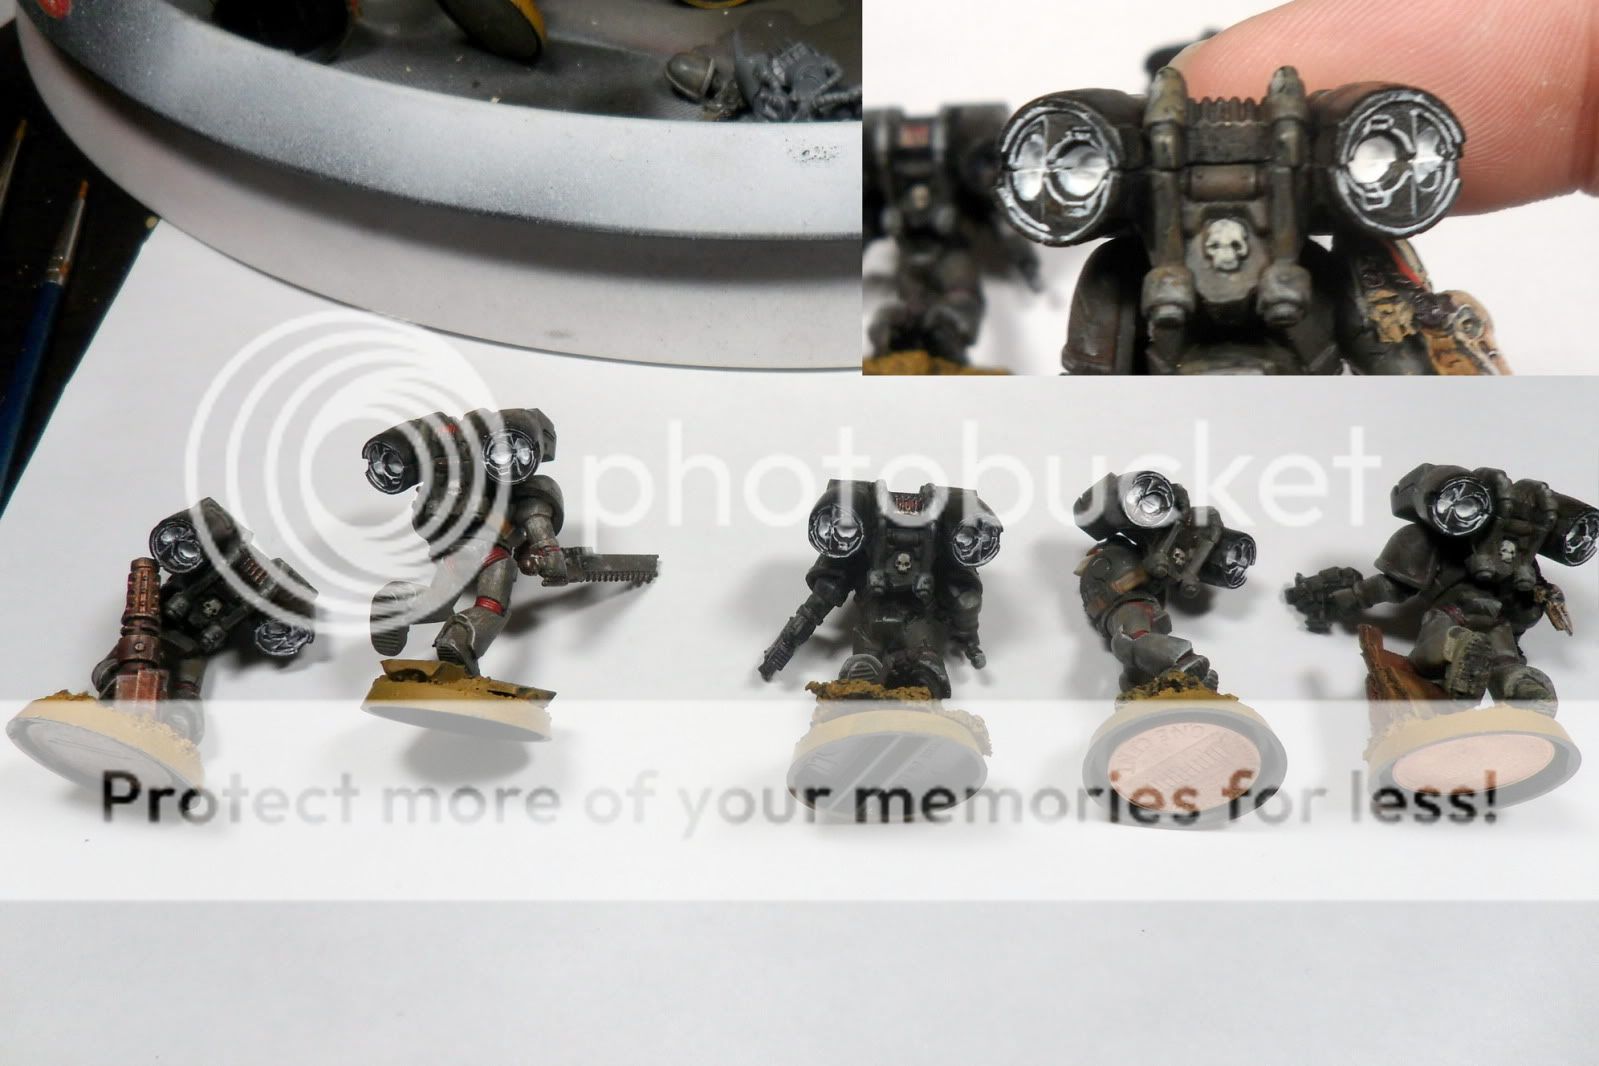


Next I do the same thing with a thinned Sunburst Yellow, leaving white at the source dots. Well thinned paint helps again. Too watery and it will run into crevices, and too dry and you will be dry-brushing a yellow that isn't as striking.


I cover everything in a thin layer of red ink, leave the white sources if you can, otherwise touch it up at the end. This gives everything a good heated area look.
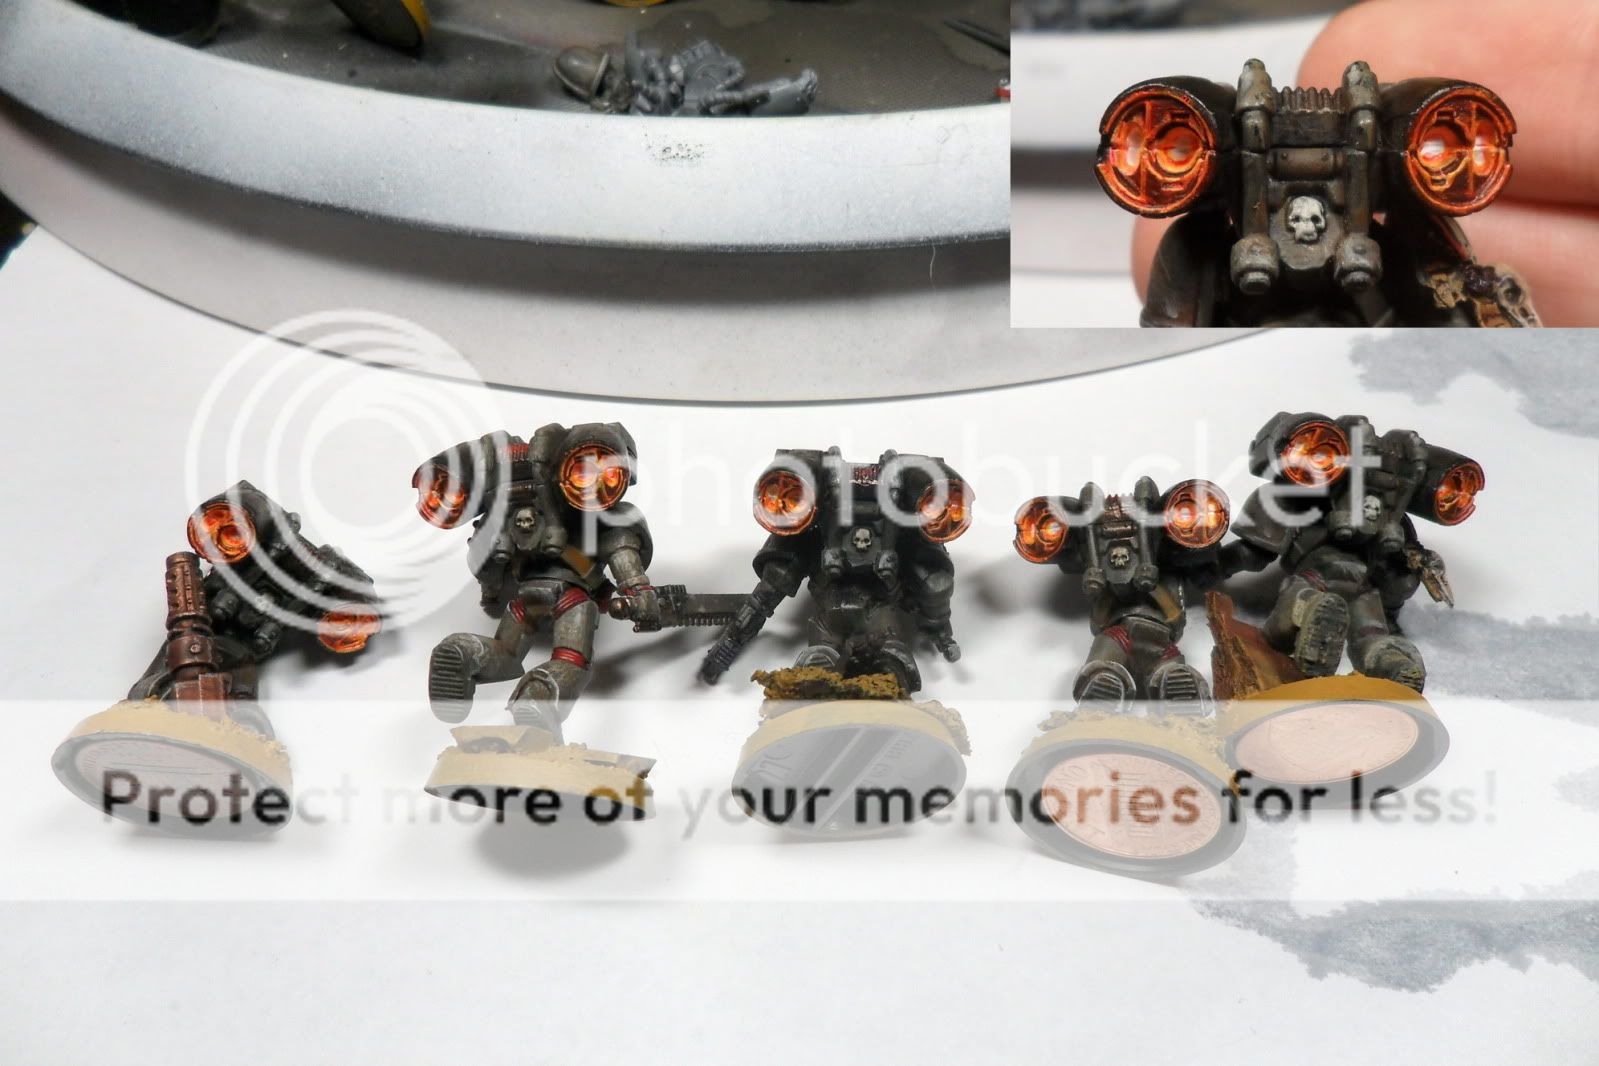


I go back over some of the edges with yellow again.


I decided the red wasn't heavy enough, so I apply another red ink layer to certain spots away from the edges and touch up the white sources.
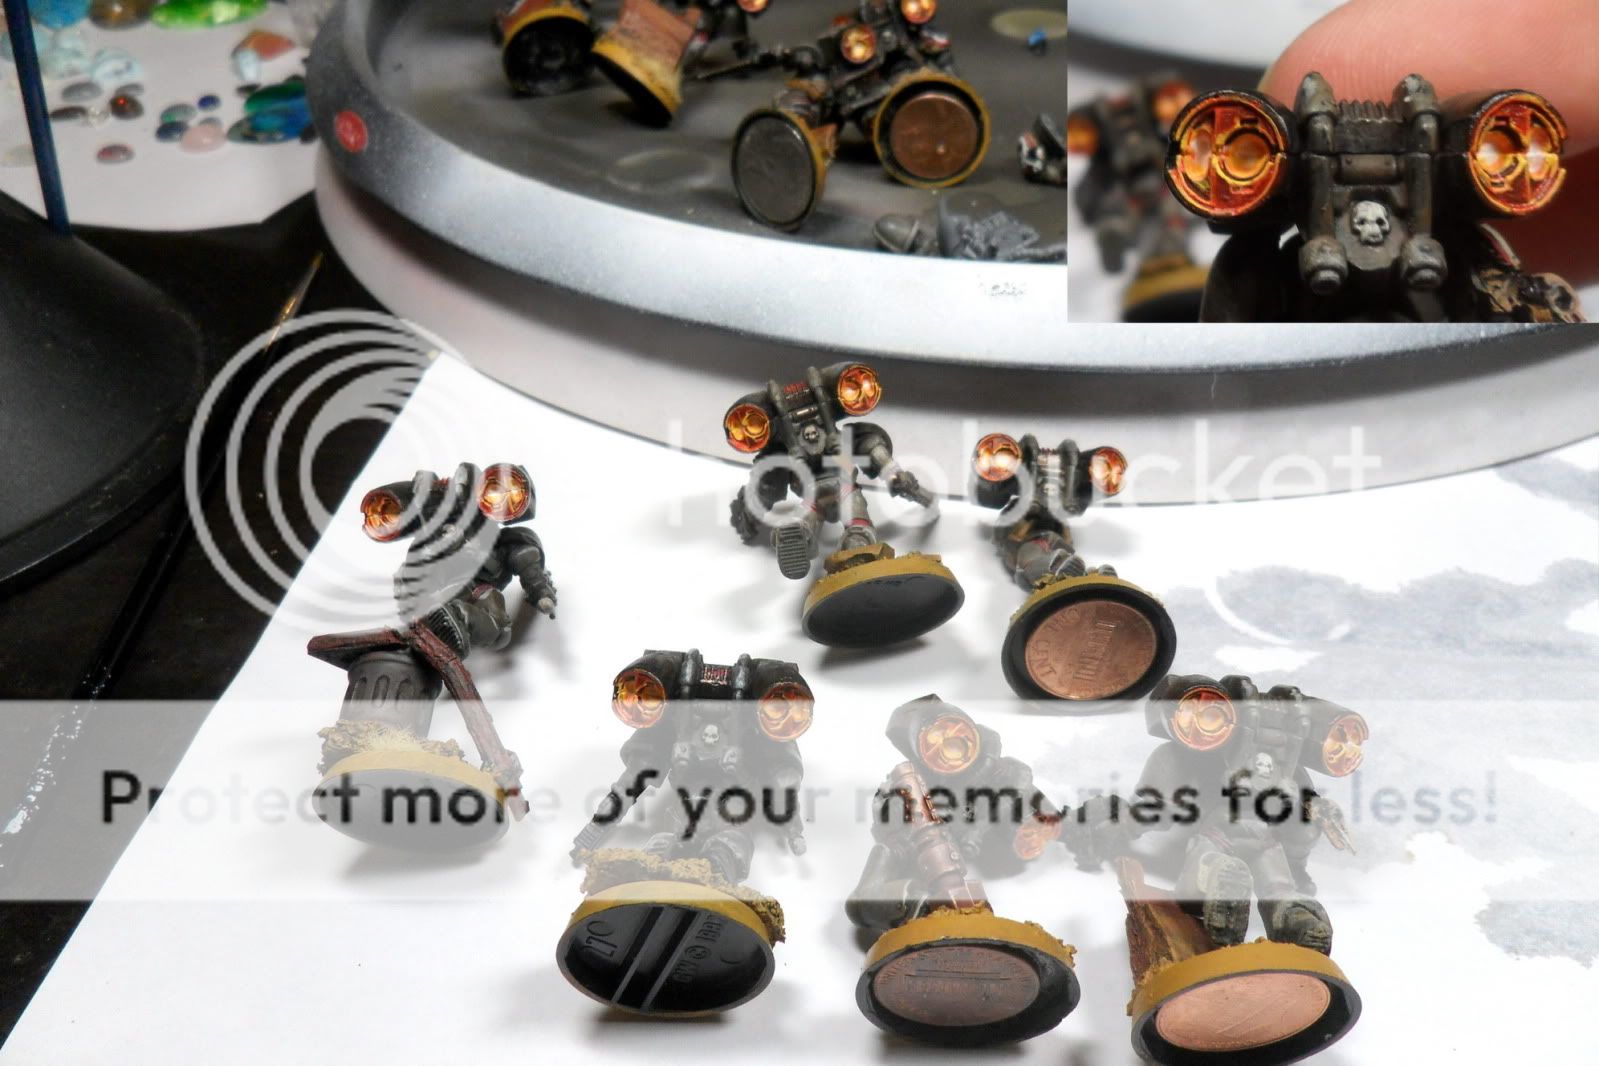


There you go! This is a good way to get used to simple source lighting. You can see that my powerfist/thunderhammers follow a similar lighting feel. My other power weapons follow a slightly different style, relying more on lava texture and gradient.
______________________________________________

Wednesday, March 2, 2011

Vanguard at the Ready!


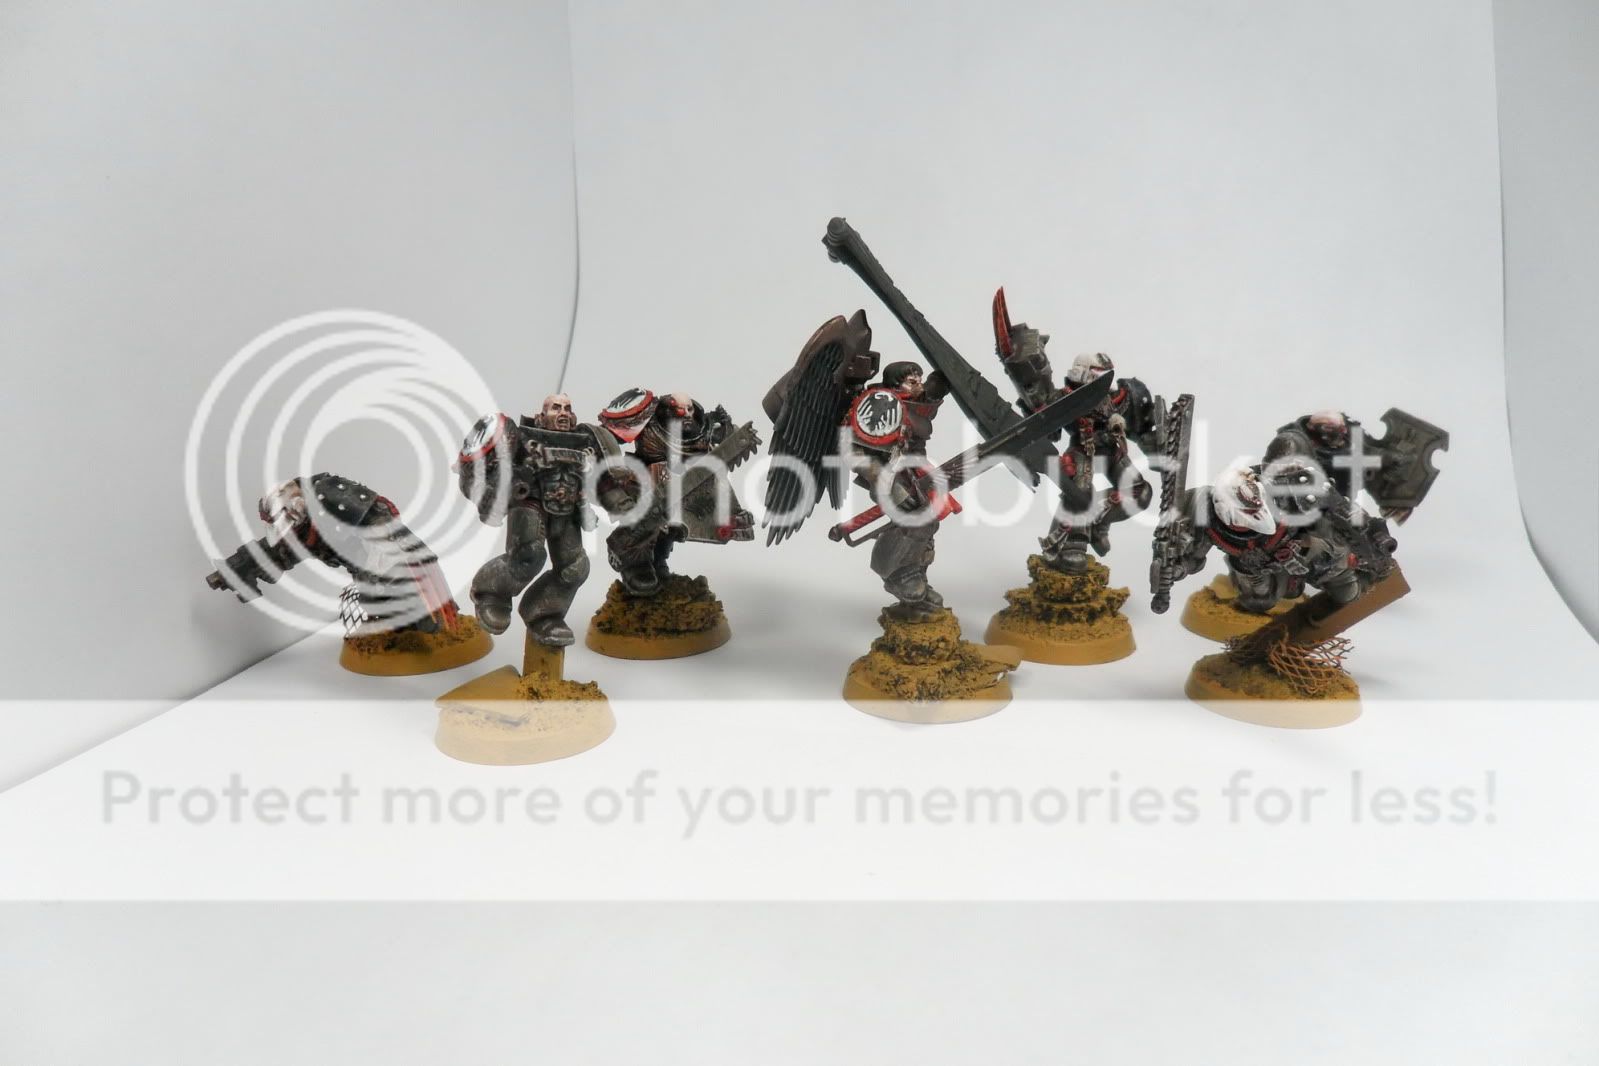
Vanguard Veterans and Priest are nearing completion. Still missing jumppacks and some detailing before they are complete, but soon! I hope to finish this stuff this weekend, as I have a secret project that has crept up on me...

I will do what I can to shield you from the unknowable horror with which it holds, but I fear I will ultimately fail in such a task..


______________________________________________


Monday, February 21, 2011

Big Trouble in Little Malifaux

As I work to finish phase one of my Shadow Crows, I'm planning for what needs to be done on my other projects coming down the pipe. In the meantime I've got some smaller projects that have seen some good progress.
______________________________________________


Viktoria Crew Detailing

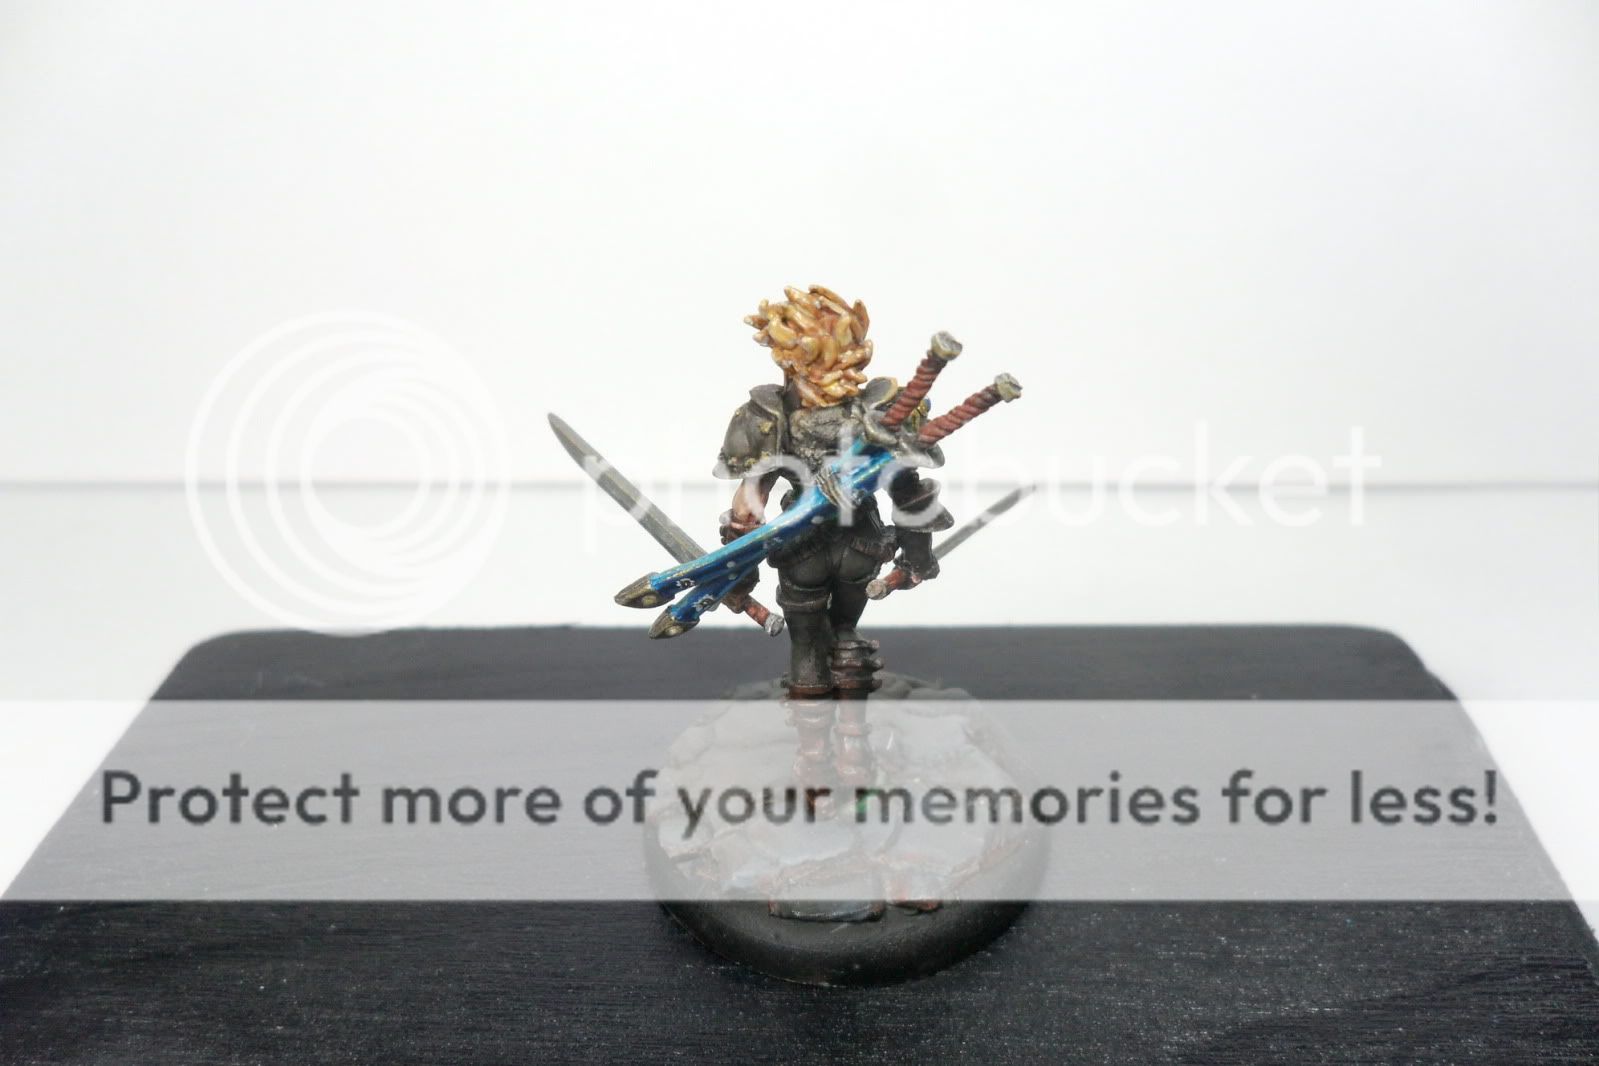
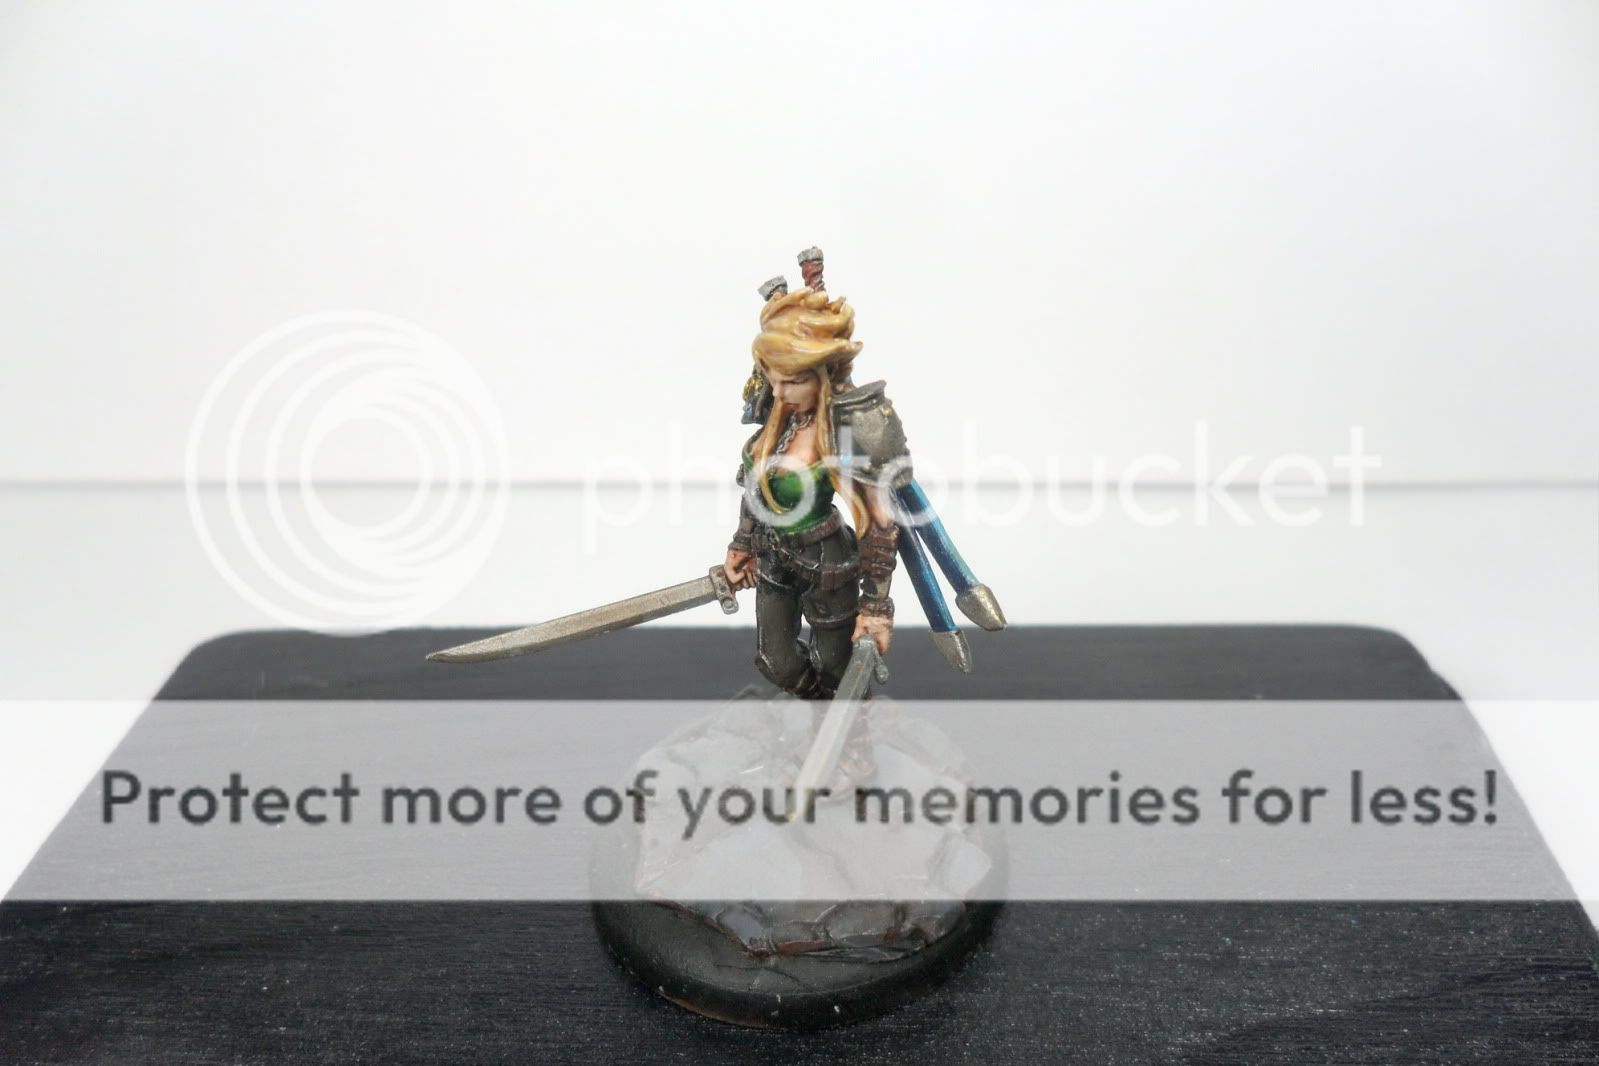
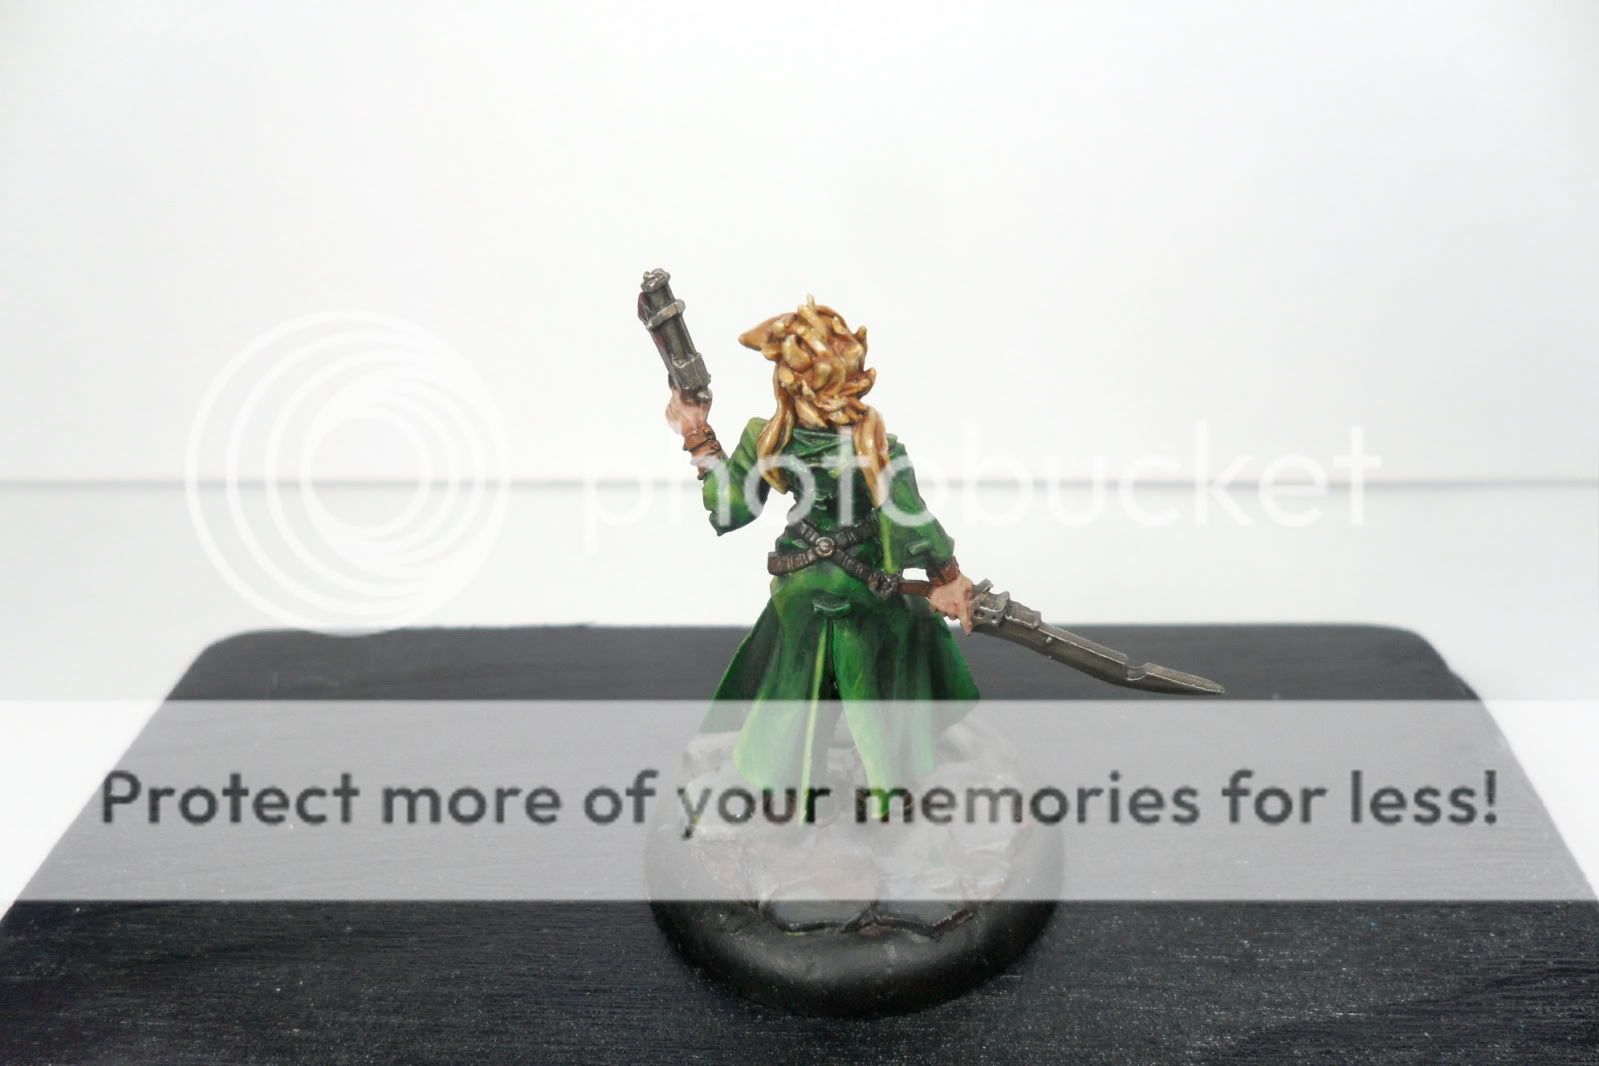
I really haven't had a good chance to finish learning Malifaux, but that doesn't mean I can't fix up some of my models! I put work into the Viktoria's shading the cloak, adding some decorative lotus petals to the scabbards, etc.


One of my favorites is my Ronin who got herself a Big Trouble in Little China shirt! I would like to add a bit more freehand to some of the other characters sometime soon.

______________________________________________


Burna Boyz
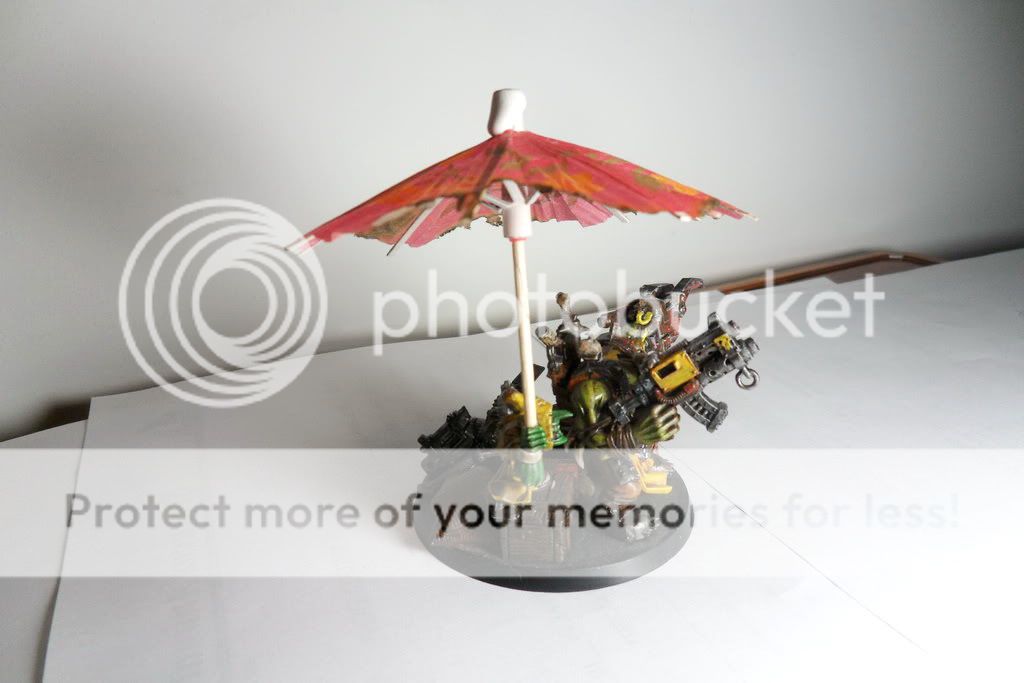
I actually painted these burna boyz a long time ago, but completely missed taking a picture of them. I really liked how they turned out, but I could still use some better shots with proper lighting one of these days. I took this after turning them to green paste with my assault marines (who were in turn, rendered into grey paste :]) Also here is a shot of the infamous Shady Warboss from an angle to show what is going on behind him on the base. His palanquin has been replaced as well, it breaks a lot.

"Our blast templates shall blot out the sun"
"Then wez waagh in da shade!"


______________________________________________


Vanguard Veterans WIP

The Vanguard Veterans have also seen some love. I'm working on getting the Jumppacks ready, but managed to get the last of the beakie heads on and start up some basecoats. I'm slowly finding my way through what variants on my colorscheme to use for the VV and the HQ's. More to come on these guys over the week.
______________________________________________