Friday, April 22, 2011

Charity Auction - Custom Black Reach Painting Challenge

Lets talk charity. My brothers in arms, the G33kwatch crew put on an epic Mass Effect Marathon last year for Childsplay charity, in which they auctioned off my Normandy SR1 model. While I have plans for the SR2 for this coming year's ME marathon, the G33ks have a new 24 hour marathon in the works on June 4th, consisting of many different party games! Talking it over with Charismatic guy Joe, we decided to try something a little different for my crafty contribution to this Slumber Party:


I will be purchasing the Warhammer 40k starter set Black Reach box, and preparing it for the Slumber Party(assembling, basing, priming). Early into the marathon day we will auction this set off, to be painted up to the exact specifications of the winner, DURING the marathon. I will be painting and also jumping into a few of the games and crazy hijinks during the rest of this 24 hour period.


What will Definitely be Included:
  • The full Black Reach box contents(minus sprue, unless you really want it..) amounting to a respectable Ork and Space Marine forces. Arguably one of the most generous starter kits to date!
  • Painted to match your color choices, or an existing army.
  • Based to your desired terrain, or to match any existing forces as closely as possible.

Additional Items I am working to also Include:
  • Custom Objective counters (mix of orky and Imperial)
  • Extra set of rules and templates (for those who might want to split it up between two new players)
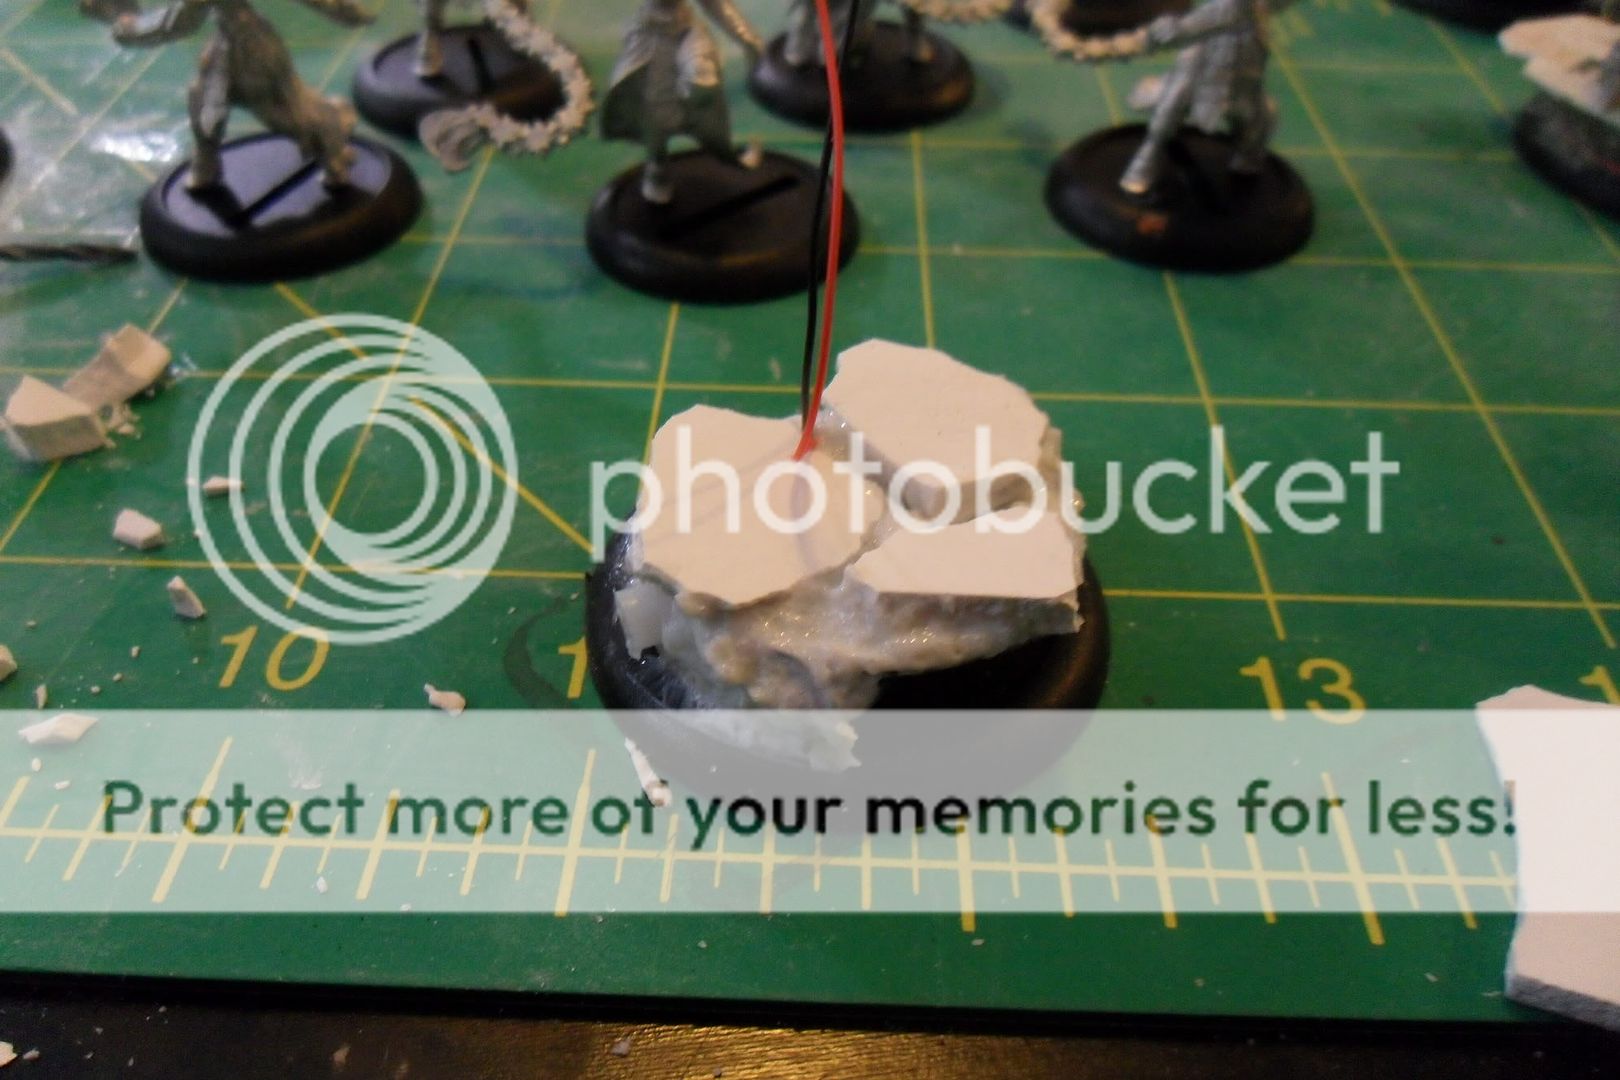
  • Protective foam to fit the Blackreach set.
  • 3-5 pieces of low terrain so you can play a real match right out of the box!

In addition, if the winner is new to painting and would prefer, I will document my colors and steps carefully. I can paint the base troops in a way more suited for a new painter to match when they add new models. In this case I will spend extra time on the commanders and elites, and may include some starter paints and brushes if I have them available.

Whether you are interested in this auction or not, I encourage you to tune in and watch the marathon during the 24 hour period. We will be playing plenty of fun video games, raffling off a metric ton of prizes to those who donate, doing crazy things for donations, and unlocking g33kwatch member special costumes! Sponser me in your donations to force me to do hilarious/dangerous/informative things while trying to meet my painting deadline!

Lastly, any help in spreading the word on both the auction and event would be greatly appreciated. As we approach the Slumber Party, I will be posting progress and updating this post should any of the specifics change. If you have any questions or suggestions for this Auction, please let me know!

Tuesday, April 19, 2011

Building Cryx and battery/Switch Bases


I was able to get a good bit of modeling done on the Cryx this Saturday. The Deathjack got most of the improvements, namely soldering and greenstuff to conceal the wires to it's body, and getting the base and broken parts back on. I used crystal clear caulk, tinted green with a wash, and applied it around the led to bridge that area and add some texture over it. This worked pretty well, and should work fine when painted transitions into the LED section. I added resin sand to the base to shore everything up, and primed it after these pictures. You can see that the intended effect of bathing his victim in green is unhindered by the caulking.


The Satyxis all got some assembling and priming as well. Their bases will be another large project, so they are on temporary ones with a pinned leg each. I didn't pin the flails, so hopefully that doesn't come back to haunt me..


Speaking of bases, here is the first step. They were made by taking normal GW bases and cutting the rims off. Sanded down a little, they fit into the PP bases like other inserts. Over top of that I applied resin sand and broke up some plaster into rocks. These will be masters which I'll use to make a mold, for the much more difficult secret stage of the build...


I also have my newer versions of warjack base+switch+battery setup. I first applied the holder and switch to the base with careful superglue locations. It's important to not oversaturate the holder or block it in any way with glue or the resin sand. I then cut out tops out of plasticard and threaded the wires through, lightly gluing the top to the battery holder.


After that I applied resin sand to the top and around the sides. I've come to really like this stuff, its much more convenient than glue and sand for non-terrain projects.


Then I took a wirecutter to some more plaster to make some blocks to a cracked rock formation in line with the others. I originally tried taking foamboard and removing one side of paper, then carving out rocks, but it did not look as good, so I will redo the larger base to conform with these.


You can see the test turkeyjack showing how the finished product should look, with wiring going up one leg when it is ready. This ended up being much neater than the original, which had extra wires everywhere. I will probably make a removable battery cover of some sort next.


______________________________________________

Saturday, April 16, 2011

The Investigators Are On The Case


I was the only one who came back that night to the old fishing town as legend bade, for only the poor and the lonely remember.

H.P. Lovecraft

"The Festival"


Here is the current state of the 8 investigators from Mansions of Madness.
I got through most of them, though half of them need some more work to be brought up to the same quality.


I enjoyed working on the ground shadow effects, I feel it adds to the lighting ambiance for the characters. I would like to shade them even more according to the lighting to heighten this effect. You can see where I figured it out on the first three of these characters. The rest should follow with a similar feel.


Also left to finish are about 6 monsters, which I shall get to in time. For now, I've switched gears and begun to get into my Cryx force that has been sitting patiently in a box for a couple months now. I put a good deal of work into them this weekend, so WIP pics coming very soon. In the meantime, here's some more pictures of a few of the completed monsters.

______________________________________________

Tuesday, April 12, 2011

Cryx Deathjack LED Teaser


Expect some pictures soon of my mostly finished Mansions of Madness, but in the meantime, here's a little something I have been working on for as the next project...


I will be working with clear caulk to mold out some ghostly trails around the LED, but I dont want to diffuse the main beam too much. I'm hoping that during a game I can engulf the deathjack's current victim in a green haze, room lighting permitting. The glow gets around the major areas I was hoping for, though I probably could add one to the back, or drill out the main exhausts and fill them with clear caulk to try to carry the light. As it stands I will probably just mimic that with the paintjob.

Here is one of the other works in progress, which took considerably more effort due to recasting the body in clear resin. The green is off, it should be closer to the deathjack, a little more cyan tinged.


And here is one of the original works, also recast in clear resin, though it loses quite a bit of detail. The paintjob was a test, and not likely to be the one I keep.


The LED's wont stop at the jacks though, expect some very small lighting attempts before this army is through.