
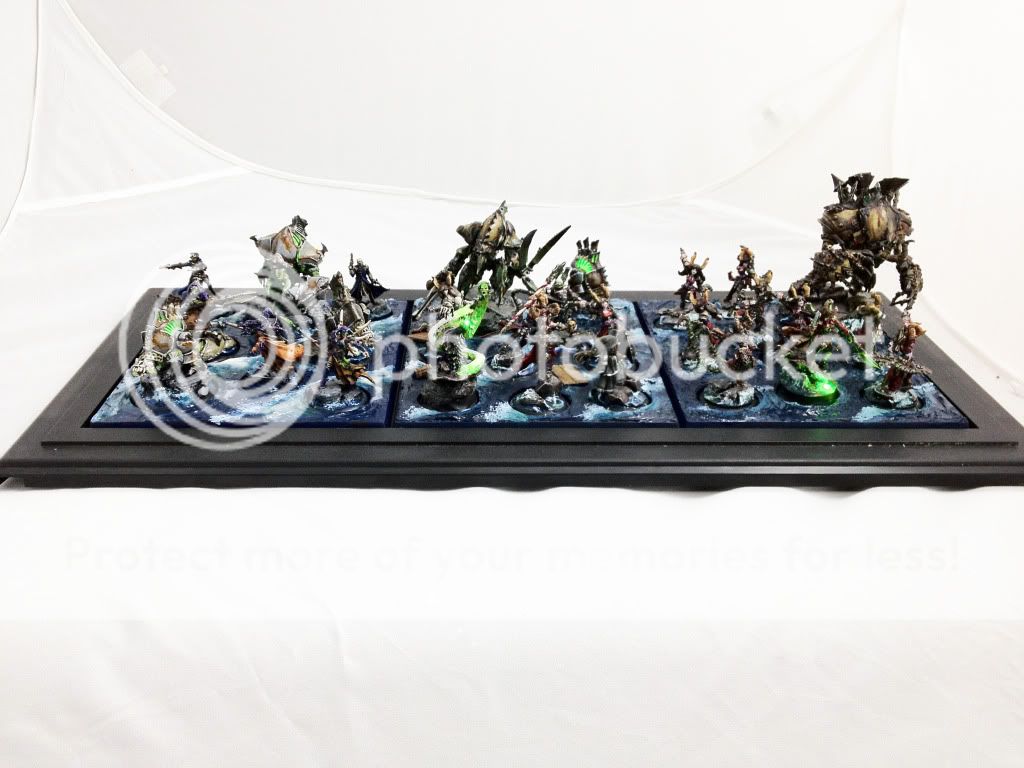
With the coming escalation over at JBL, I have decided to complete my existing gator force, and flesh it out into a full army. This has been a fun army to work on, especially getting them down into some custom bases from Secret Weapon. The swamp bases are great, but I will probably be making my own to keep costs down on the rest of the army. I knew I wanted the grimy swamp theme to carry over into the gators, keeping them muddy and green also means they won't really stand out much.
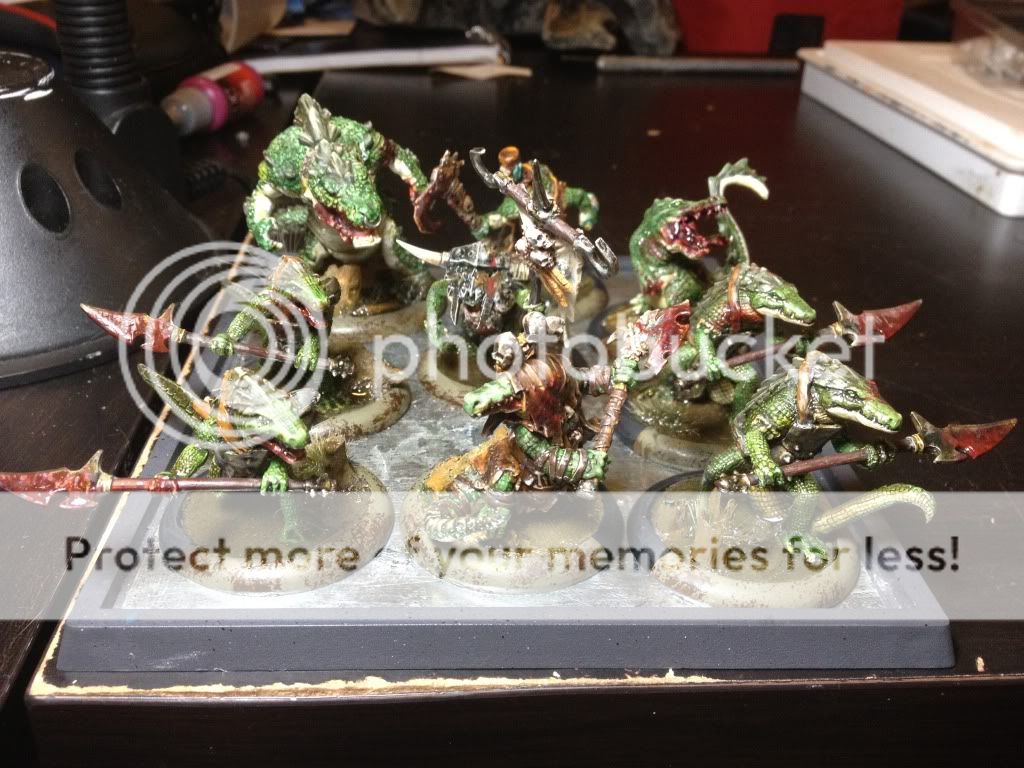 I decided to go for some conversions to make them a bit more interesting in places, and also to use blood as a way to make things more interesting. I took the idea from another gator player to make all of my units missing an eye, as some sort of initiation ritual into the Blindwater Congregation. I will continue this theme to newer models as well, even other warcasters.
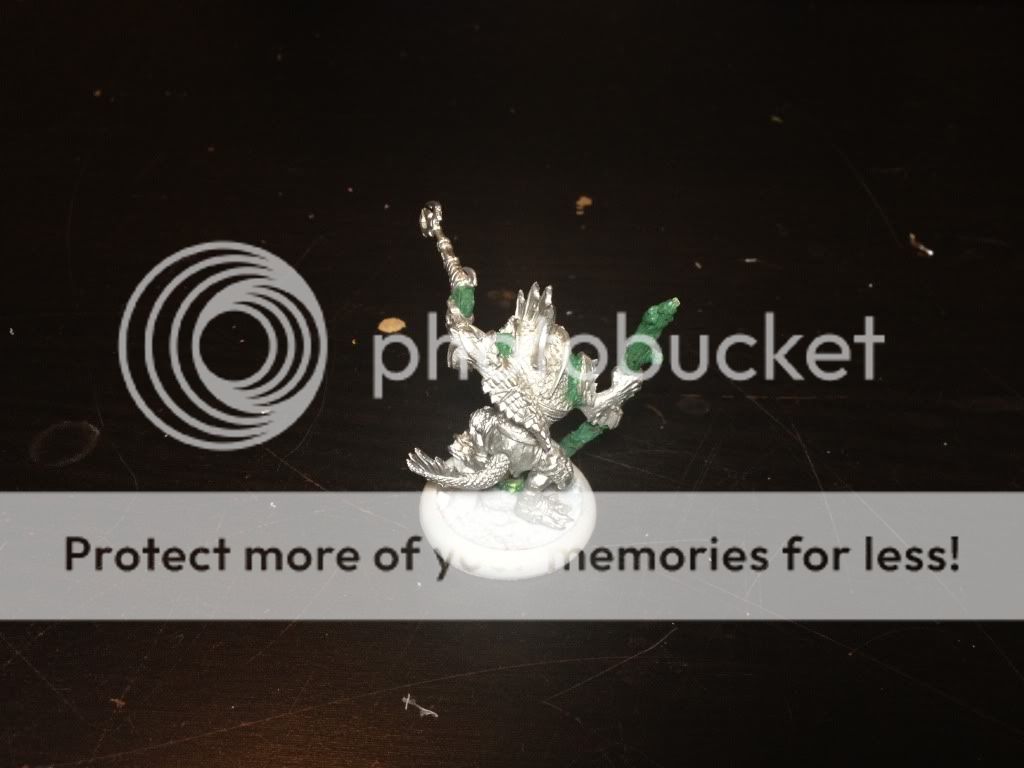
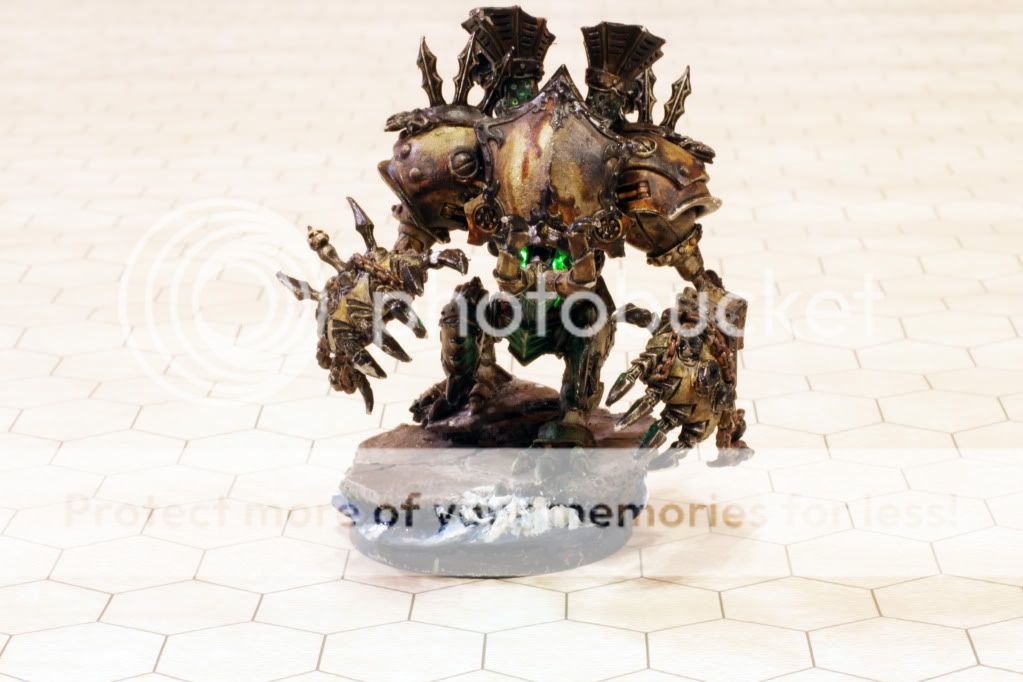
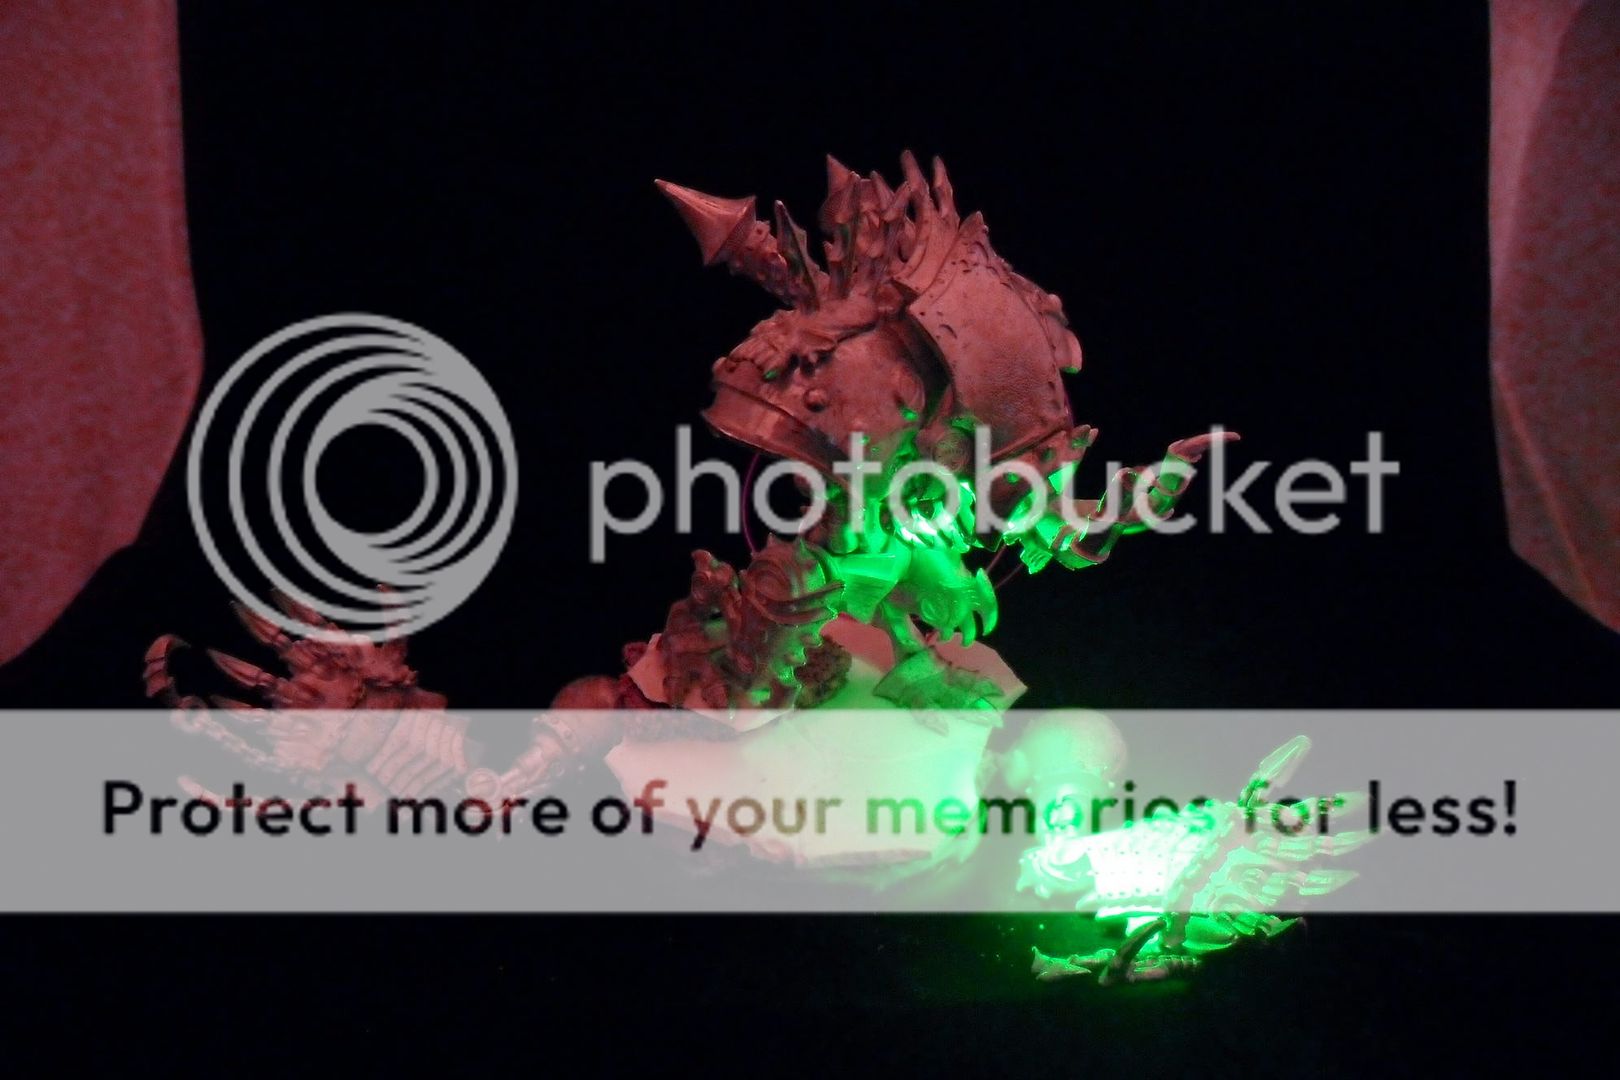
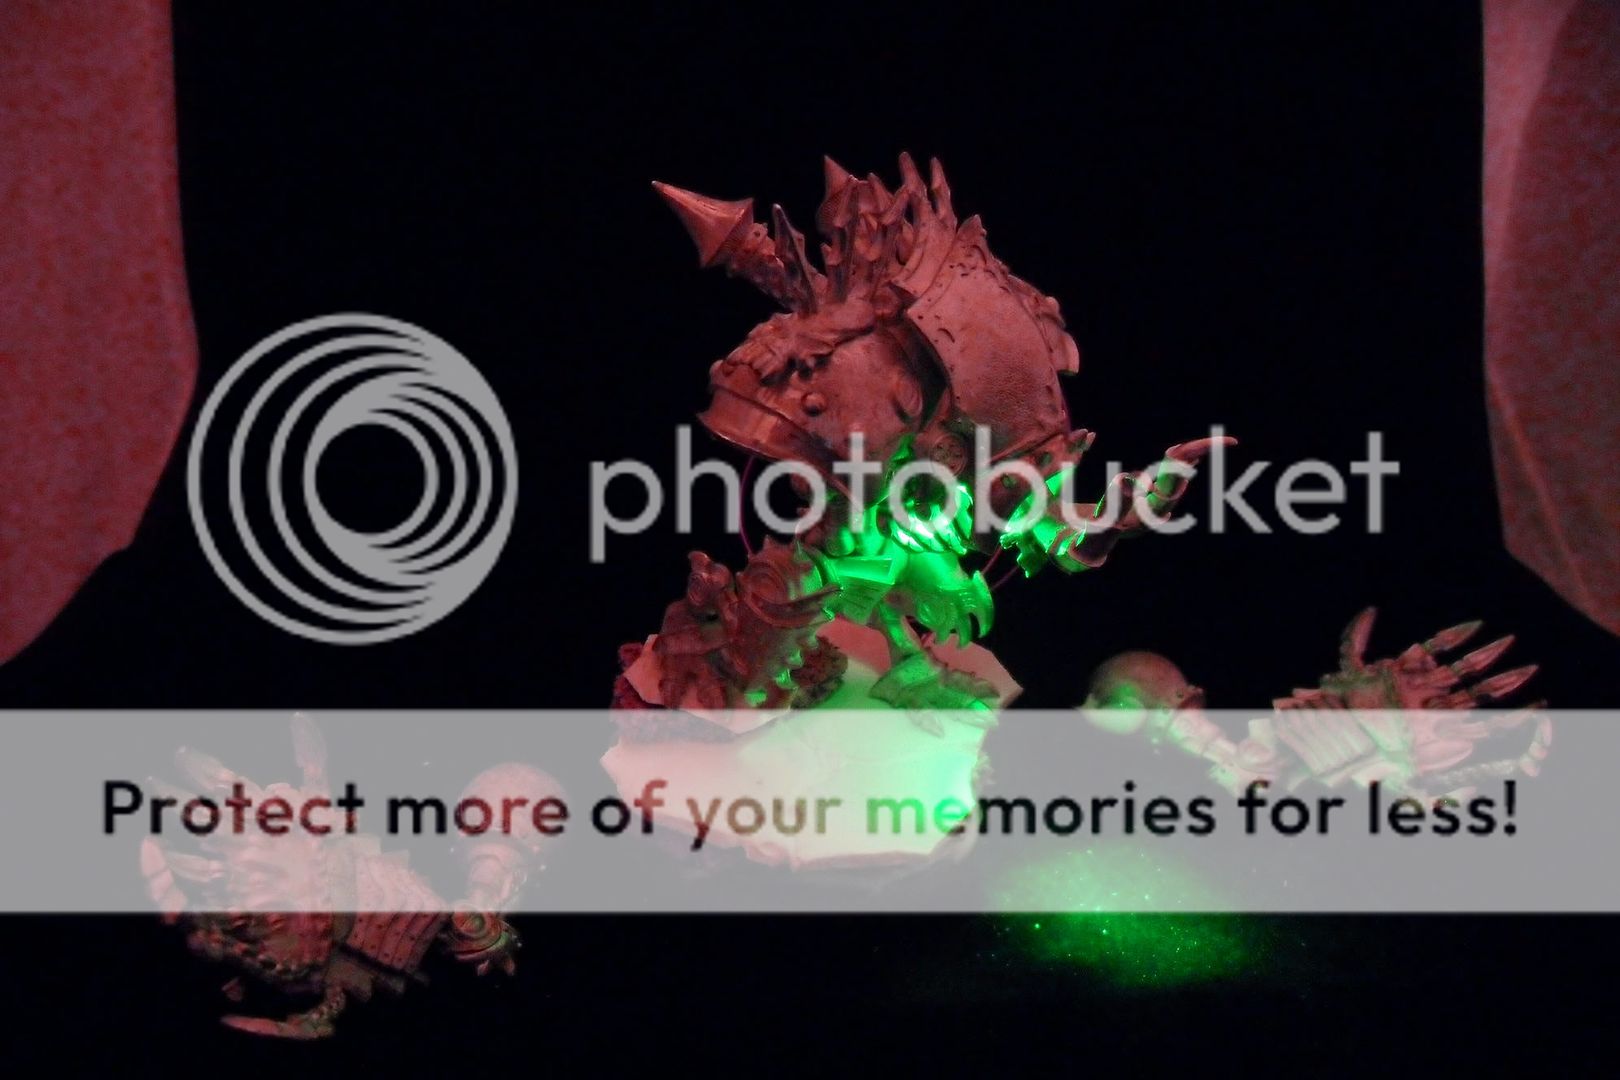
I also made use of some bits to armor up the gator posse. The posse is very bare bones for cool heavy infantry models. I took some Ogre Kingdom gauntlets and dremelled them into chest plates. These were added with some Chaos warrior shoulder pads, and connected together with some belt straps out of greenstuff. To top it off, I made the Bokur a bit more intimidating by modding his staff into a banner, and giving him some orky metal icon as a modified helmet. I think the helmet works pretty well, though it borders on silly.
 Wrongeye and Snapjaw were my first paintjobs, and they were a lot of fun. I turned WE's hat patch into a playing card, and used an in joke for his bottle (Duck 31 being a fake vodka we have joked about from the Duck card in the game Hex Hex.) Snapjaw was fun to paint, if a little more plain. He is doing double duty as my wrastler at the moment.
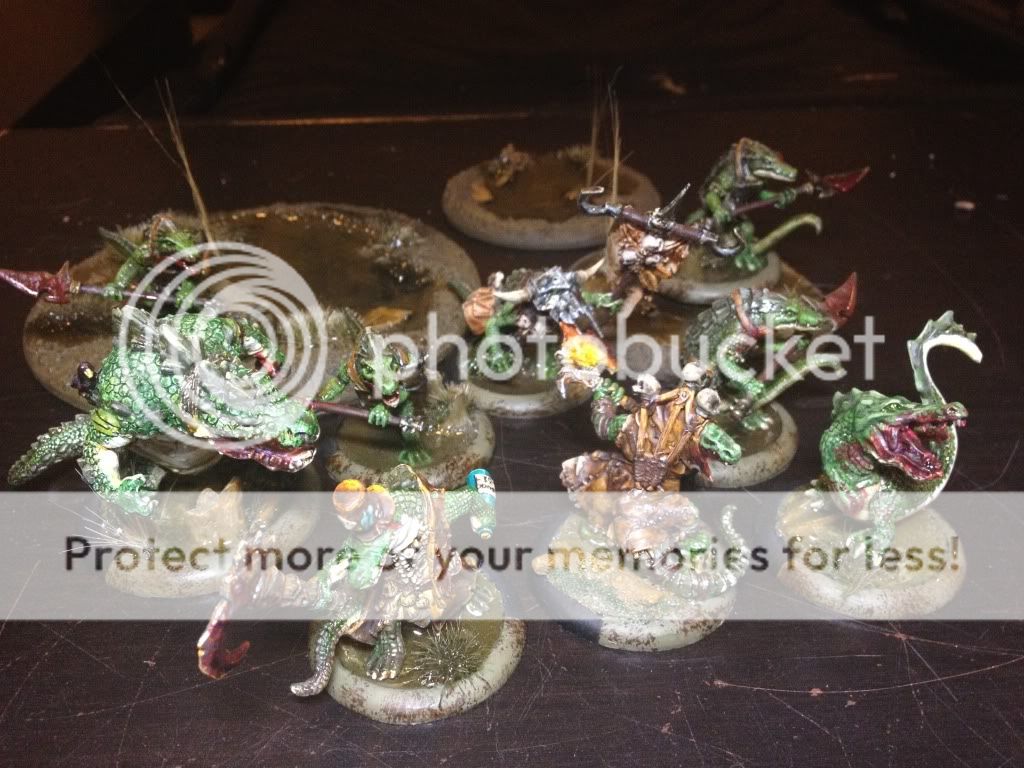 My initial blood attempts haven't been too great, and I am planning on redoing some of them with a new technique. At worst they look like tomato juice, and at best like blueberries... Having read a few more tutorials I should be able to get a much more convincing effect.
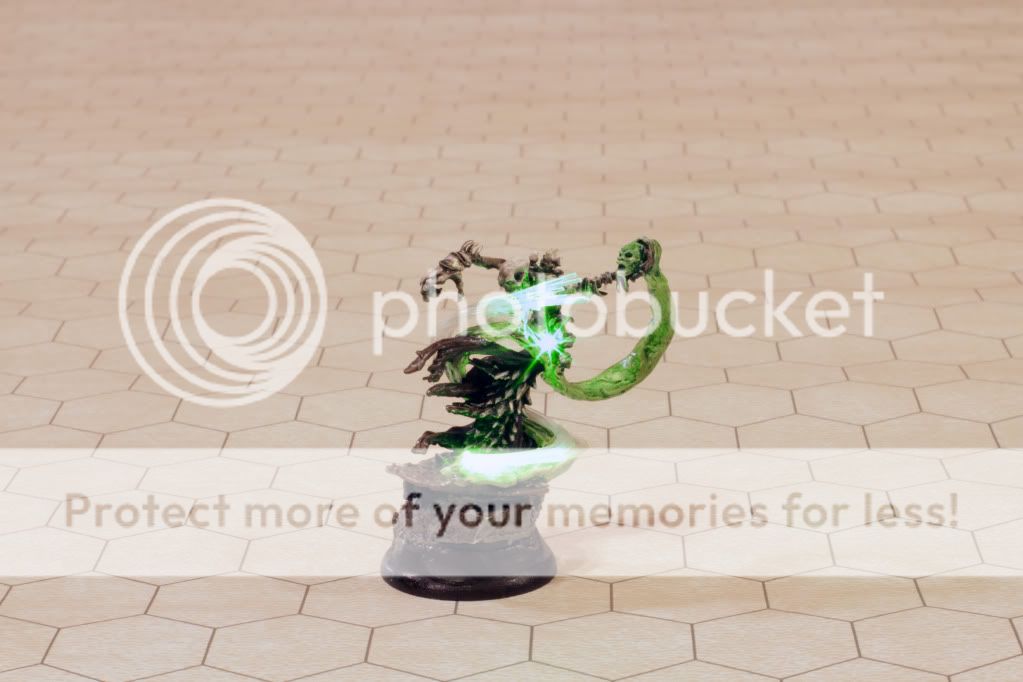
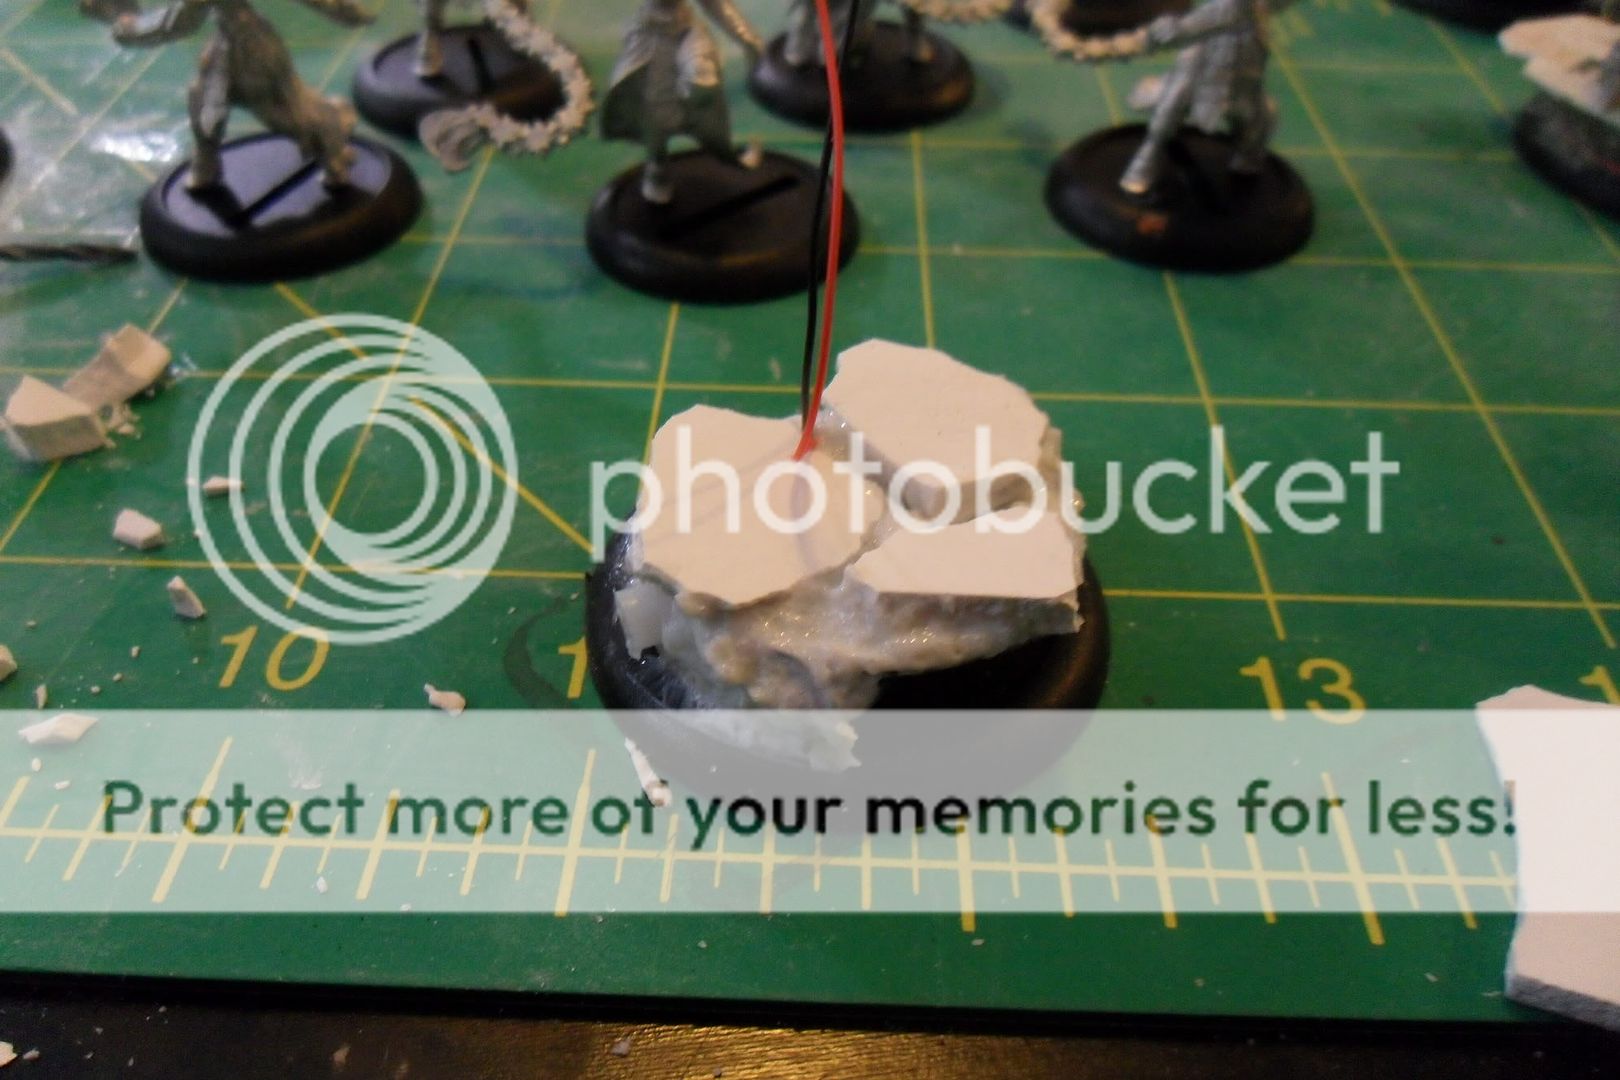
 Between Barnabus and the Blindwater effects, gators can put out a lot of swampy water templates. Rather than just have little cutouts, I decided to get some real swamps to drop down. I was able to cut the circles from 3mm wood with my CNC Shapeoko, and then sculpted in detail on top of it. The end result is some great swamps that could be used as terrain in their own right. The only problem with this is that the larger templates dissapear on my next turn, so I need enough to be able to cast new ones and move off of the older ones to take them out of play. I think it is a mild inconvenience for the sake of cooler looking battles.
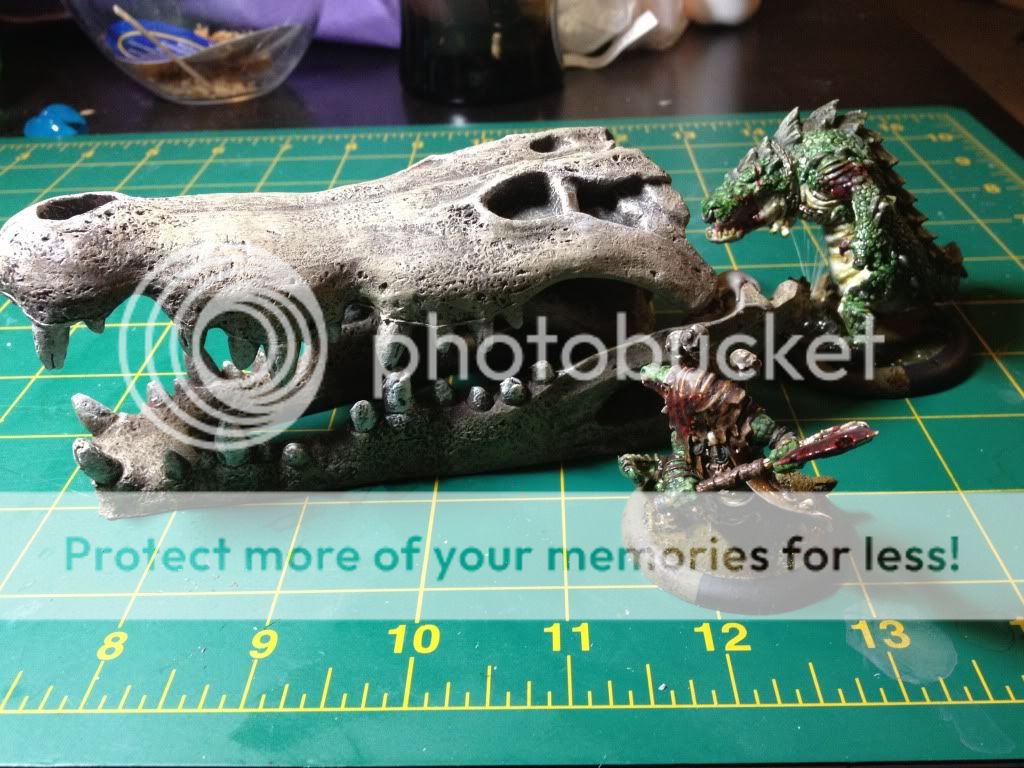
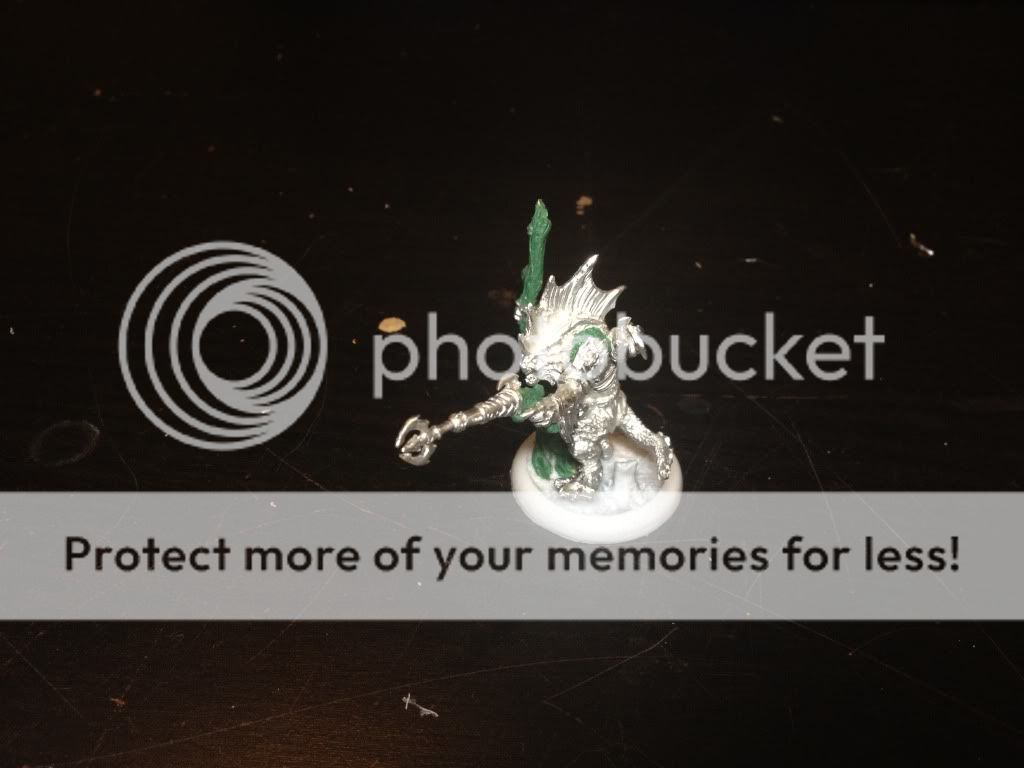
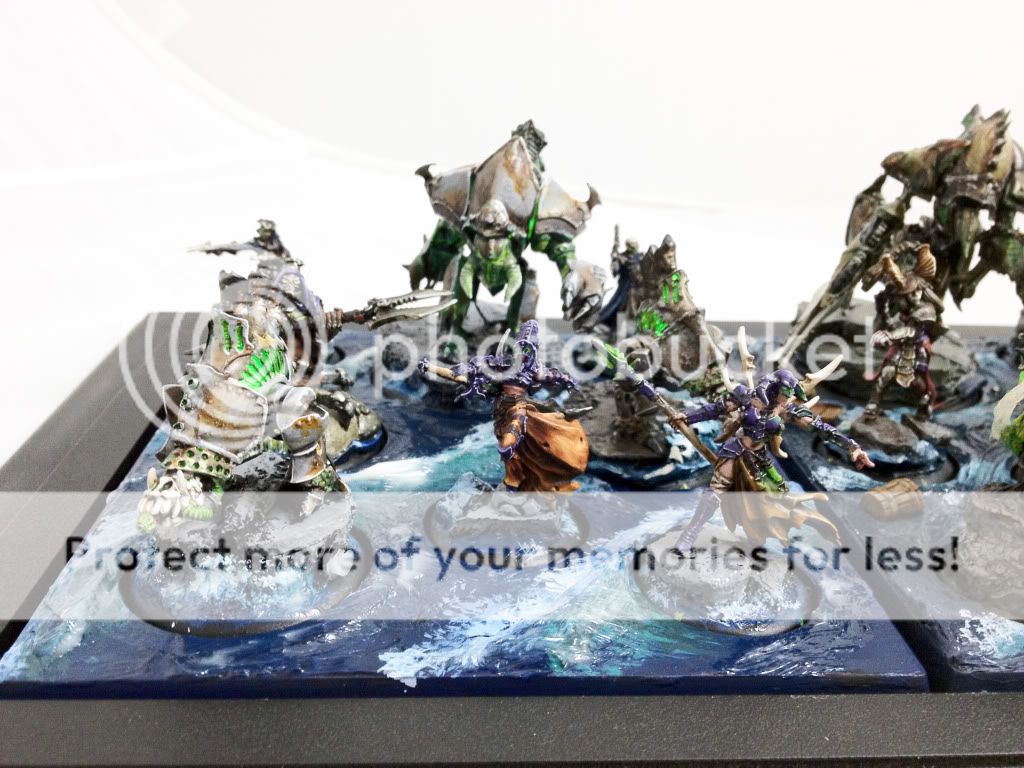
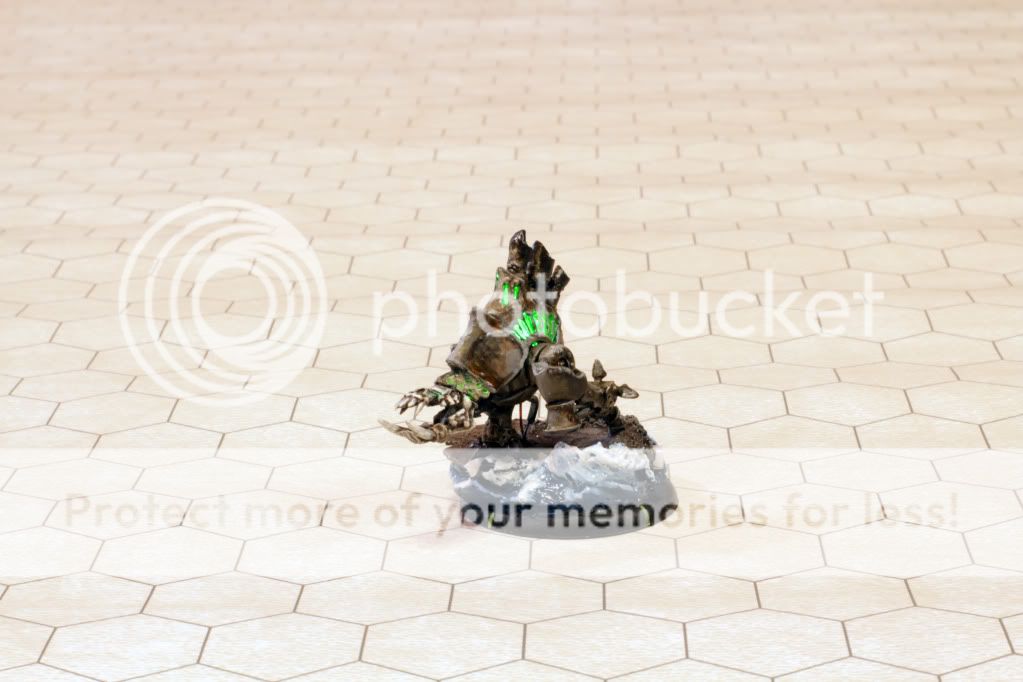
 Next up on the list is a swamp horror that I bought on the cheap. I was very disappointed with how small he was for a heavy warbeast, so I've been working to convert him into a more threatening pose. I could not think of a good way to give him height, so I dropped him into the swamp a bit more. I also made use of my last Black 13th member (who are coincidentally also very small compared to normal Warmachine scale. This works to my advantage as it makes the horror appear a bit larger in comparison.. I hope.) I am in the process of greenstuffing, but it is going faster than I expected.
 Another posse and feralgeist are also on deck, and plenty more to come as well. Rask and Maelok will be joining in, along with a few more friends.
______________________________________________


.jpeg)


