

I was able to get a good bit of modeling done on the Cryx this Saturday. The Deathjack got most of the improvements, namely soldering and greenstuff to conceal the wires to it's body, and getting the base and broken parts back on. I used crystal clear caulk, tinted green with a wash, and applied it around the led to bridge that area and add some texture over it. This worked pretty well, and should work fine when painted transitions into the LED section. I added resin sand to the base to shore everything up, and primed it after these pictures. You can see that the intended effect of bathing his victim in green is unhindered by the caulking.


The Satyxis all got some assembling and priming as well. Their bases will be another large project, so they are on temporary ones with a pinned leg each. I didn't pin the flails, so hopefully that doesn't come back to haunt me..

Speaking of bases, here is the first step. They were made by taking normal GW bases and cutting the rims off. Sanded down a little, they fit into the PP bases like other inserts. Over top of that I applied resin sand and broke up some plaster into rocks. These will be masters which I'll use to make a mold, for the much more difficult secret stage of the build...

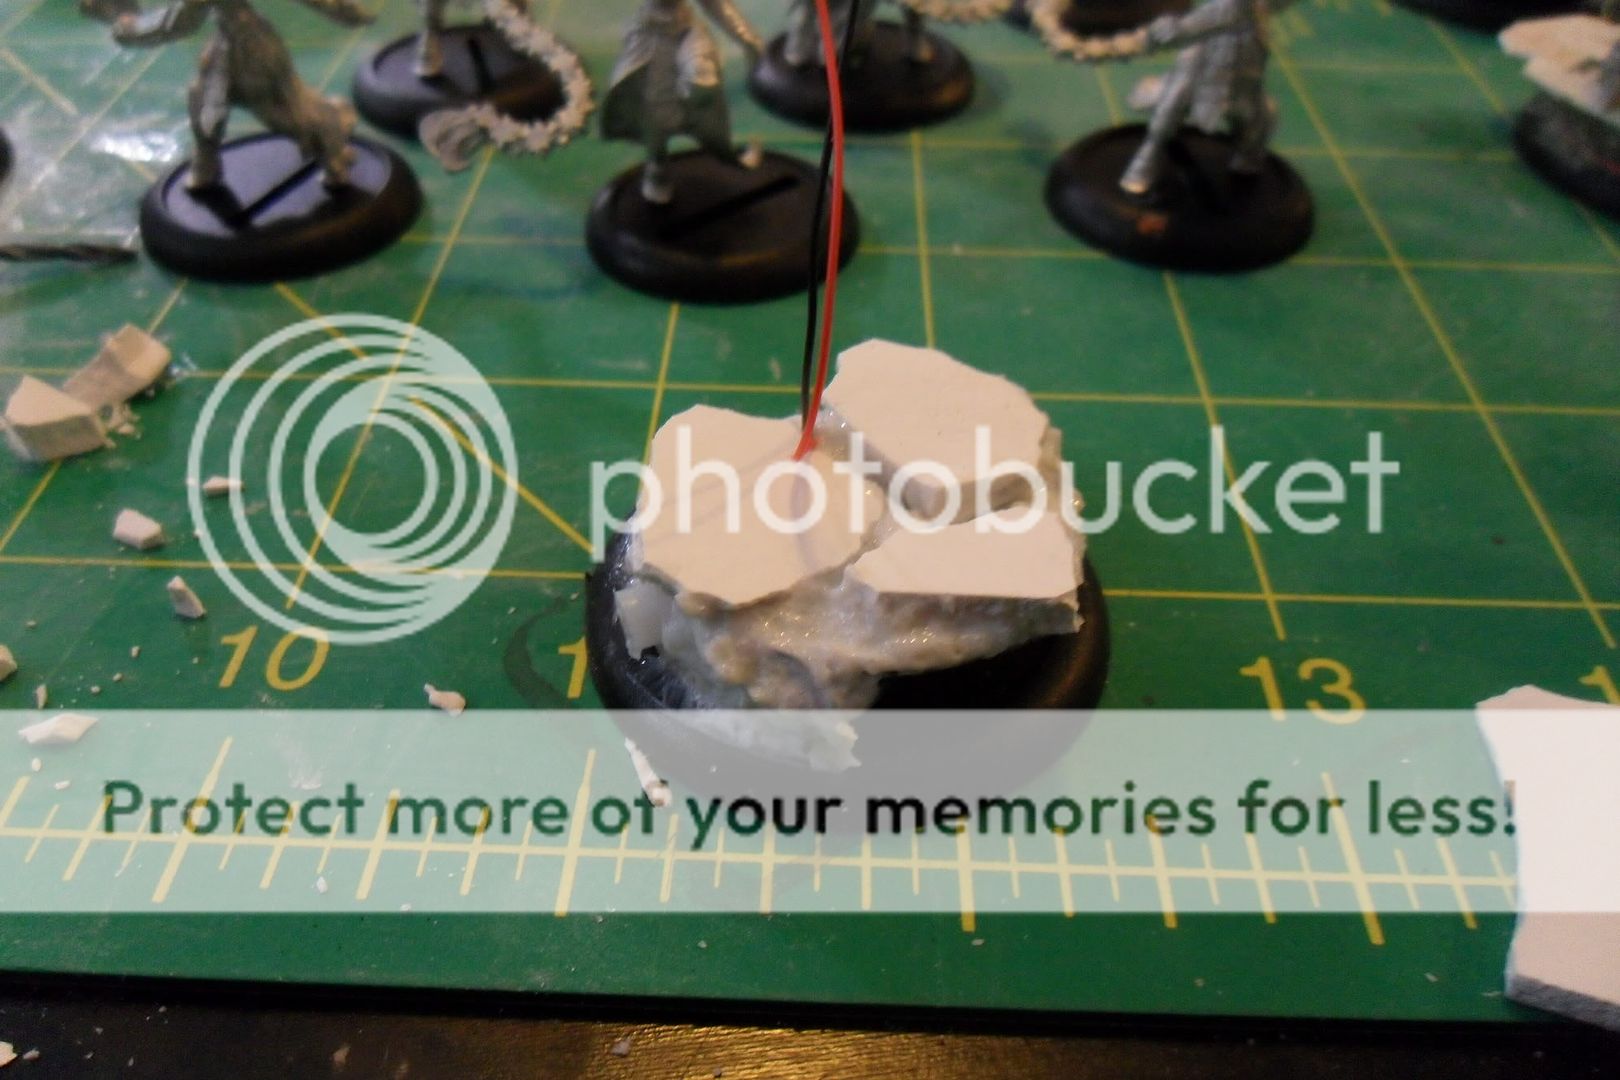
I also have my newer versions of warjack base+switch+battery setup. I first applied the holder and switch to the base with careful superglue locations. It's important to not oversaturate the holder or block it in any way with glue or the resin sand. I then cut out tops out of plasticard and threaded the wires through, lightly gluing the top to the battery holder.

After that I applied resin sand to the top and around the sides. I've come to really like this stuff, its much more convenient than glue and sand for non-terrain projects.


Then I took a wirecutter to some more plaster to make some blocks to a cracked rock formation in line with the others. I originally tried taking foamboard and removing one side of paper, then carving out rocks, but it did not look as good, so I will redo the larger base to conform with these.
You can see the test turkeyjack showing how the finished product should look, with wiring going up one leg when it is ready. This ended up being much neater than the original, which had extra wires everywhere. I will probably make a removable battery cover of some sort next.

______________________________________________


.jpeg)


No comments:
Post a Comment